
Countersink Drill bit
Countersink drill bits are specialized cutting tools used to create a conical indentation in a workpiece, allowing a fastener like a screw or bolt to sit flush with or below the surface. This guide explores the different types of countersink drill bits, their applications, how to choose the right one, and best practices for usage, ensuring clean, professional results. Whether you're a seasoned woodworker, metalworker, or a DIY enthusiast, understanding countersink drill bits will significantly improve your projects.Understanding Countersink Drill BitsWhat is a Countersink?A countersink is a conical hole cut into a material, designed to allow a fastener to sit flush or below the surface. This is aesthetically pleasing and prevents the fastener head from protruding, which could be a safety hazard or interfere with other components.What is a Countersink Drill Bit?A countersink drill bit is a cutting tool designed specifically to create these countersunk holes. They come in various shapes and sizes to accommodate different fastener sizes and materials. Understanding the different types will help you select the right tool for the job. Wayleading Tools offers a wide selection of high-quality countersink drill bits for various applications. You can explore their offerings at www.wayleading.com.Types of Countersink Drill BitsSingle-Flute Countersink Drill BitsThese bits feature a single cutting edge and are typically used for softer materials like wood and plastic. They are generally more affordable but may produce a less clean finish compared to multi-flute options.Multi-Flute Countersink Drill BitsMulti-flute bits, usually with three or five flutes, provide a smoother, cleaner cut, especially in harder materials like metal. They are more expensive than single-flute bits but offer superior performance and longevity.Chatterless Countersink Drill BitsDesigned to minimize vibration and chatter, these bits provide a very smooth and precise countersink. They are ideal for delicate materials or applications where a high-quality finish is essential.Combined Drill and Countersink Drill BitsThese bits combine a drill bit and a countersink in one tool. They drill the pilot hole and create the countersink in a single operation, saving time and ensuring perfect alignment. These are available for various screw sizes. For example, a #6 combined drill and countersink drill bit will create the correct pilot and countersink for a #6 screw.Adjustable Countersink Drill BitsThese bits allow you to adjust the depth of the countersink, providing greater flexibility for different applications and screw sizes. They often consist of a drill bit surrounded by an adjustable countersink drill bit.Choosing the Right Countersink Drill BitMaterial CompatibilityThe material you're working with is a primary factor in choosing a countersink drill bit. Softer materials like wood require different bits than harder materials like metal. Wood: Single-flute or multi-flute bits made of high-speed steel (HSS) are suitable. Metal: Multi-flute bits made of HSS or cobalt steel are recommended for their durability and cutting performance. Plastic: Single-flute bits are often sufficient, but multi-flute bits can provide a cleaner finish.Fastener SizeThe size of the fastener you're using dictates the diameter of the countersink drill bit needed. Use a bit that is slightly larger than the head of the fastener to ensure a flush fit.AngleCountersink drill bits come in different angles, typically 82 degrees or 90 degrees. The angle should match the angle of the fastener head. 82-degree bits are common for wood screws, while 90-degree bits are often used for machine screws.Shank SizeEnsure the shank of the countersink drill bit is compatible with your drill chuck. Common shank sizes include 1/4 inch, 3/8 inch, and 1/2 inch.Using a Countersink Drill Bit: A Step-by-Step Guide Prepare the Workpiece: Mark the location of the hole and secure the workpiece in a vise or clamp. Select the Correct Bit: Choose a countersink drill bit that is appropriate for the material, fastener size, and angle. Drill a Pilot Hole (if necessary): If you're not using a combined drill and countersink drill bit, drill a pilot hole slightly smaller than the diameter of the screw's threads. Countersink the Hole: Place the countersink drill bit over the pilot hole and apply gentle pressure. Start at a low speed and gradually increase it until you achieve the desired depth. Check the Depth: Periodically check the depth of the countersink to ensure the fastener will sit flush or below the surface. Clean Up: Remove any burrs or debris from the countersunk hole.Tips for Optimal Results Use the Right Speed: Drilling too fast can cause the bit to overheat and dull, while drilling too slow can result in a rough finish. Refer to the bit manufacturer's recommendations for optimal speed settings. Apply Consistent Pressure: Avoid applying too much pressure, which can damage the bit or the workpiece. Let the bit do the work. Keep the Bit Sharp: A dull bit will produce a poor-quality countersink and may be more likely to chatter or slip. Sharpen the bit regularly or replace it when necessary. Use Lubricant: When working with metal, use a cutting lubricant to reduce friction and heat. Practice on Scrap Material: Before working on your final piece, practice on scrap material to get a feel for the bit and ensure you're achieving the desired results.Common Mistakes to Avoid Using the Wrong Bit for the Material: Using a bit designed for wood on metal can quickly dull or break the bit. Drilling Too Deep: Drilling too deep can weaken the material and create an unsightly countersink. Applying Too Much Pressure: This can cause the bit to bind or break. Ignoring Safety Precautions: Always wear safety glasses to protect your eyes from flying debris.Countersink Drill Bit Maintenance and CareProper maintenance will extend the life of your countersink drill bits and ensure they perform optimally. Cleaning: After each use, clean the bit with a brush and solvent to remove any debris or residue. Sharpening: Sharpen dull bits with a sharpening stone or a specialized bit sharpener. Storage: Store bits in a dry, organized location to prevent rust and damage. Consider using a bit storage case.Troubleshooting Common ProblemsChatteringChattering, or vibration, can result in a rough or uneven countersink. This can be caused by a dull bit, excessive speed, or inadequate workpiece support. Try using a chatterless bit or reducing the drilling speed.SlippingIf the bit slips out of the pilot hole, it can damage the workpiece and create an inaccurate countersink. Ensure the bit is properly aligned and apply consistent pressure. Using a center punch to create a starting point can also help.OverheatingOverheating can damage the bit and the workpiece. Reduce the drilling speed and use a cutting lubricant if working with metal.Where to Buy Countersink Drill BitsCountersink drill bits are available at most hardware stores, home improvement centers, and online retailers. Wayleading Tools, a trusted manufacturer with 10 years of experience, offers a wide range of high-quality countersink drill bits. Check out their catalog at www.wayleading.com for competitive pricing and expert advice.ConclusionMastering the use of countersink drill bits is an essential skill for any woodworker, metalworker, or DIY enthusiast. By understanding the different types of bits, choosing the right one for the job, and following proper techniques, you can achieve clean, professional results every time. Wayleading Tools is committed to providing high-quality tools and resources to help you succeed in your projects.Countersink Drill Bit Sizes and SpecificationsA general guide to help you select the appropriate countersink drill bit for different screw sizes. Screw Size Approximate Countersink Drill Bit Diameter (inches) Typical Angle (degrees) #4 1/4' 82° or 90° #6 5/16' 82° or 90° #8 3/8' 82° or 90° #10 7/16' 82° or 90° #12 1/2' 82° or 90° Disclaimer:The sizes in the table are estimates and may vary slightly depending on the manufacturer and specific screw type. Always verify the head diameter of your screws and choose a countersink bit accordingly.
Related products
Related products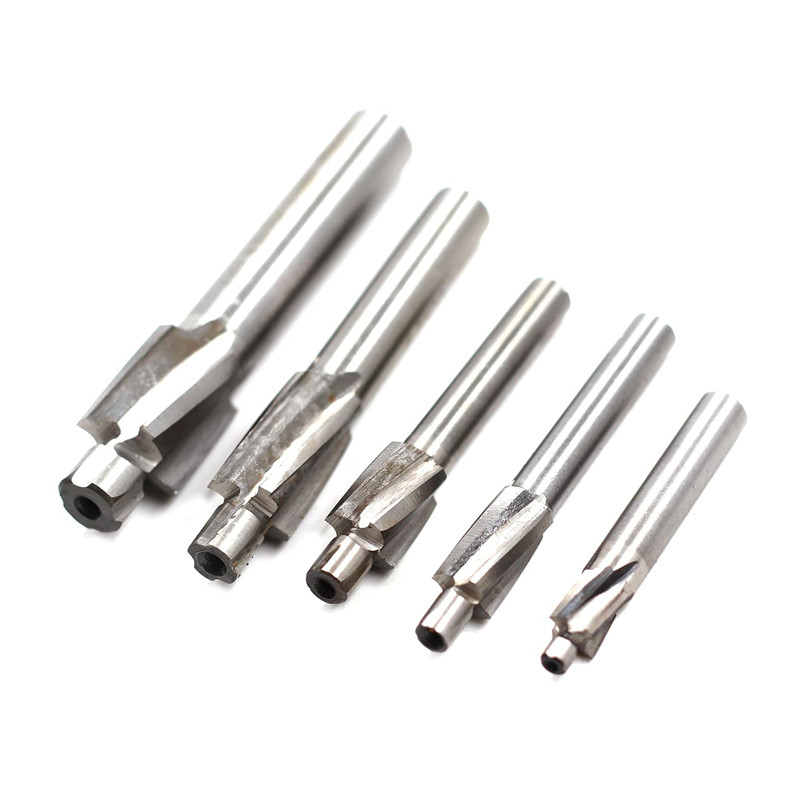

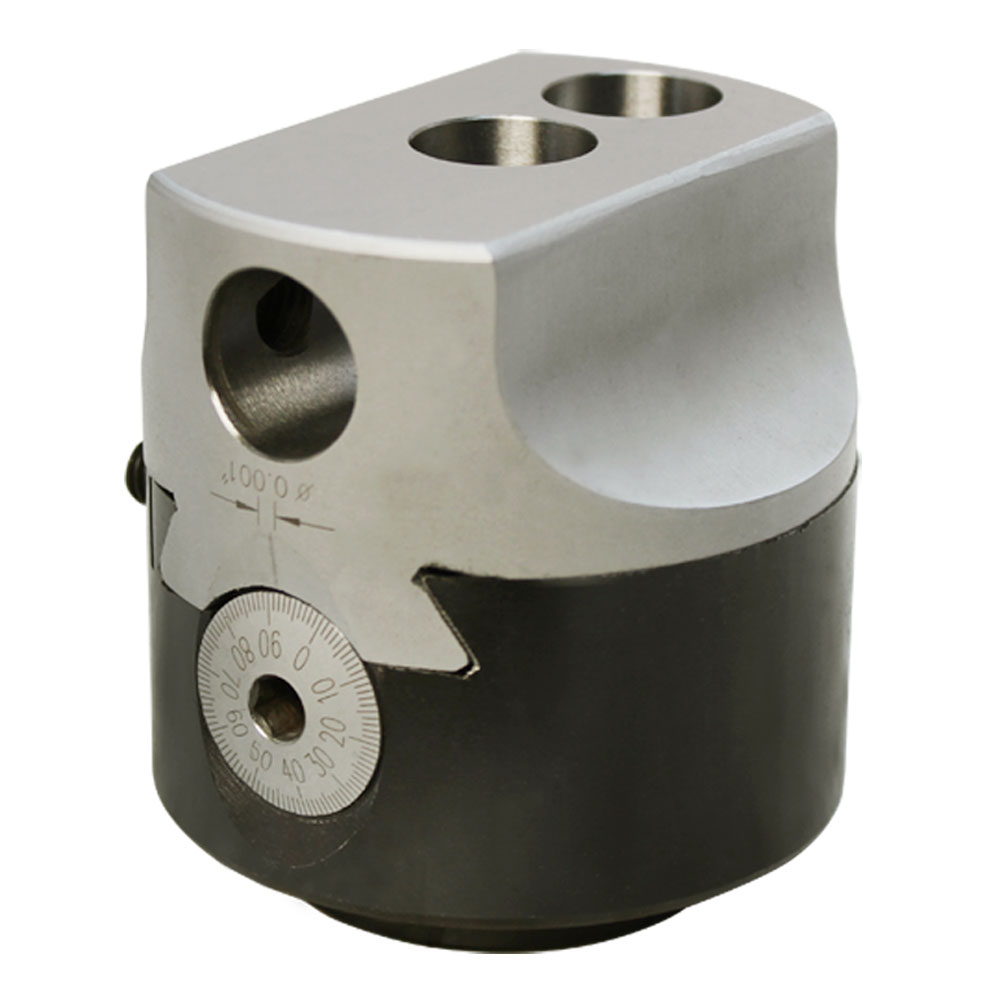
Best selling products
Best selling products-
 5C Round Collet With Inch and Metric Size
 -
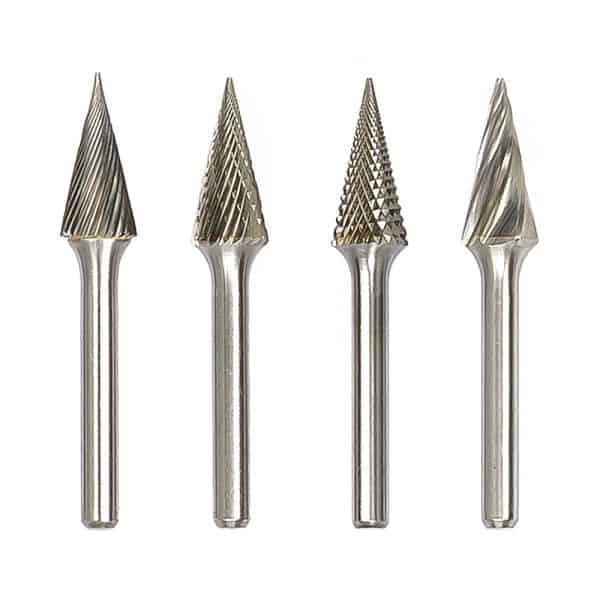
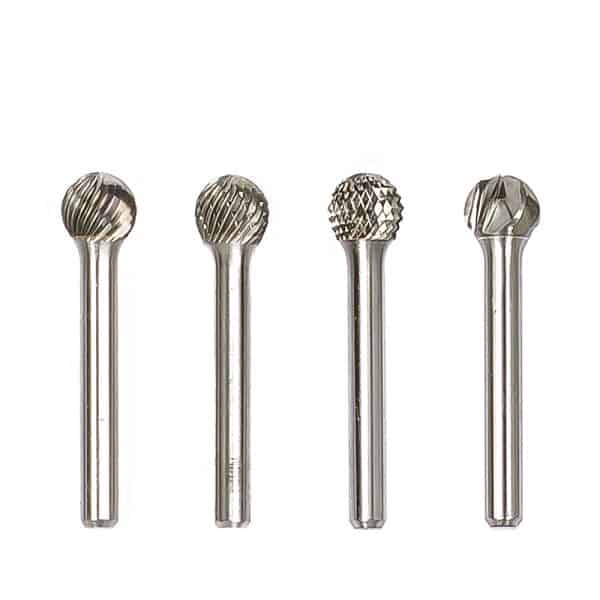 Type D Ball Tungsten Carbide Rotary Burr
 -
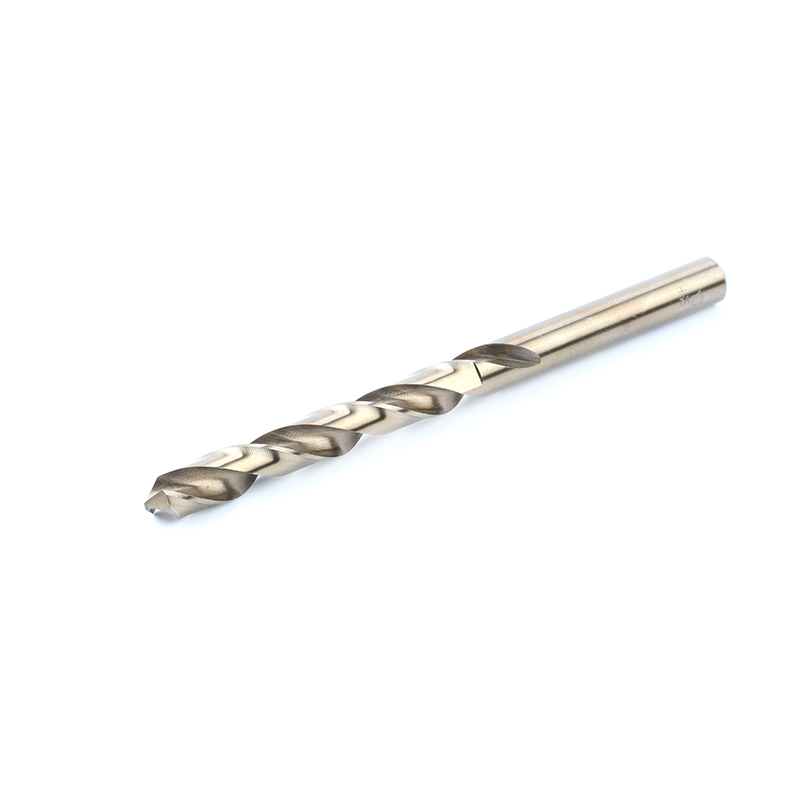 DIN338 HSS Twist Drill Bit Fully Ground Or TiN Coated
 -
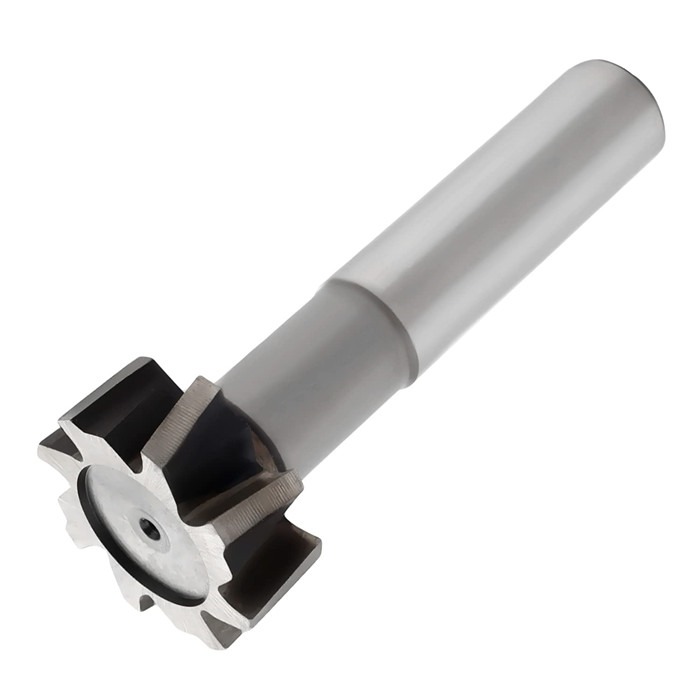 HSS Metric & Inch T Slot End Mill For Industrial
 -
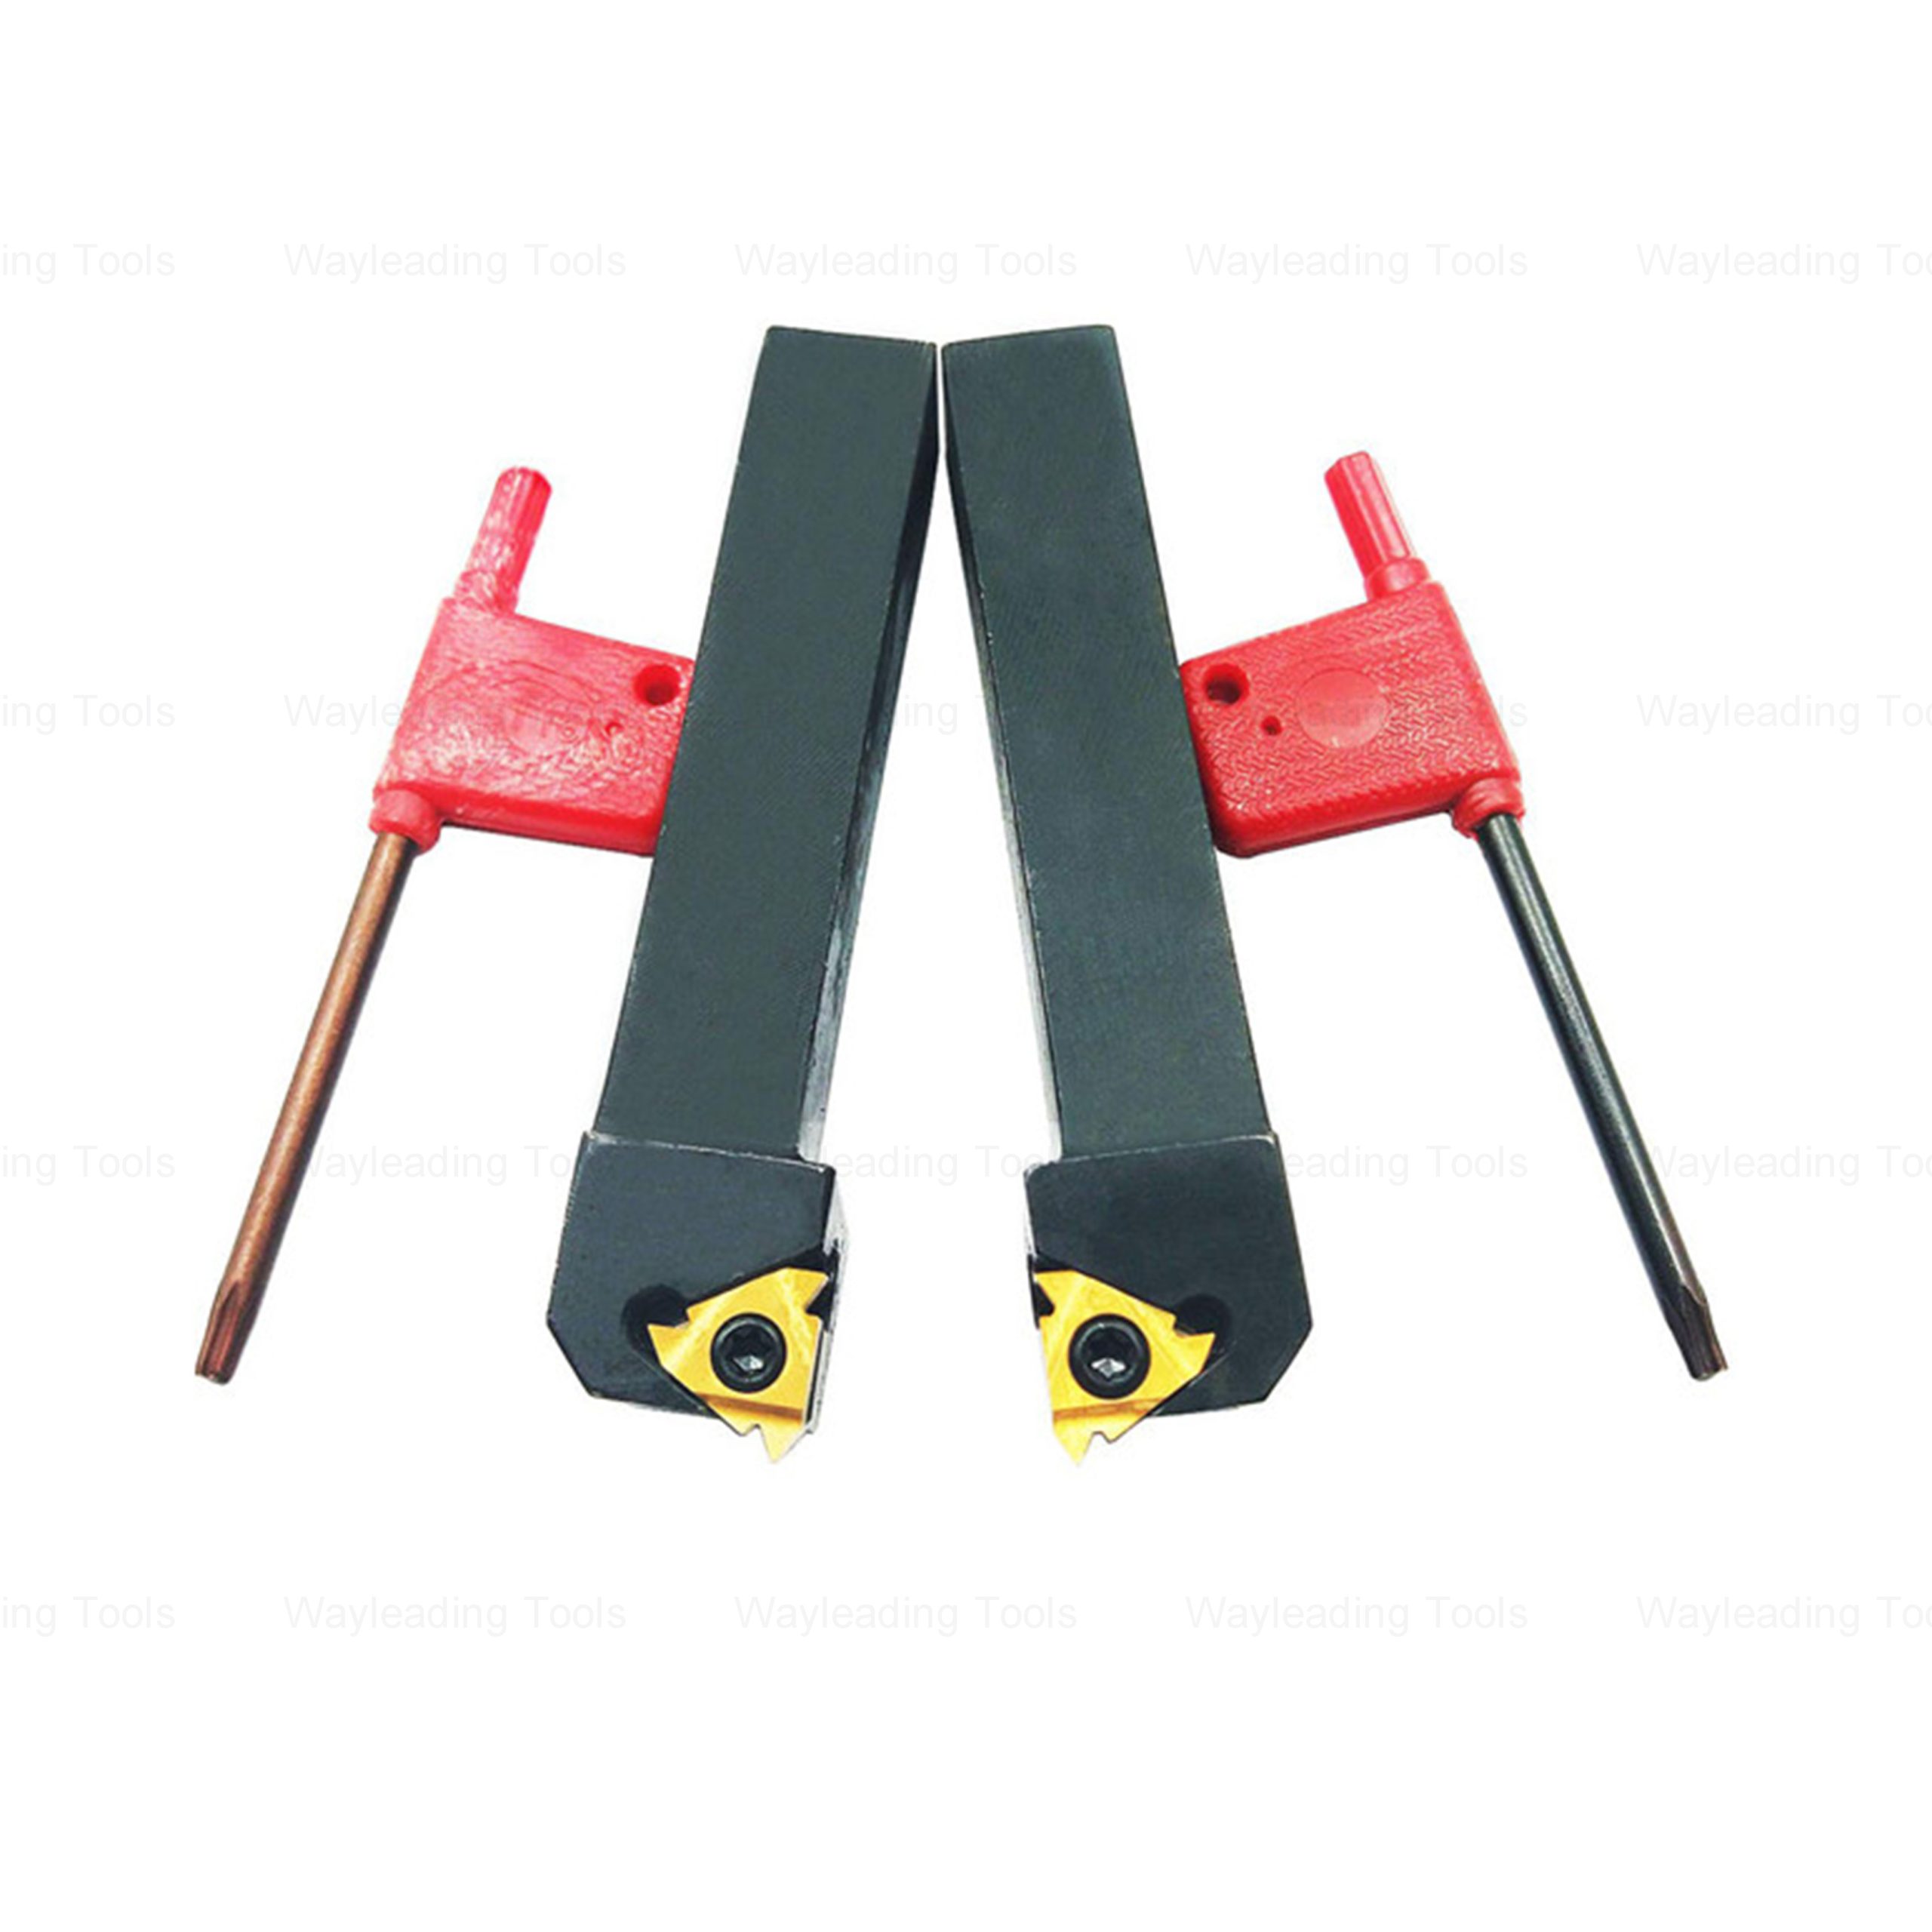
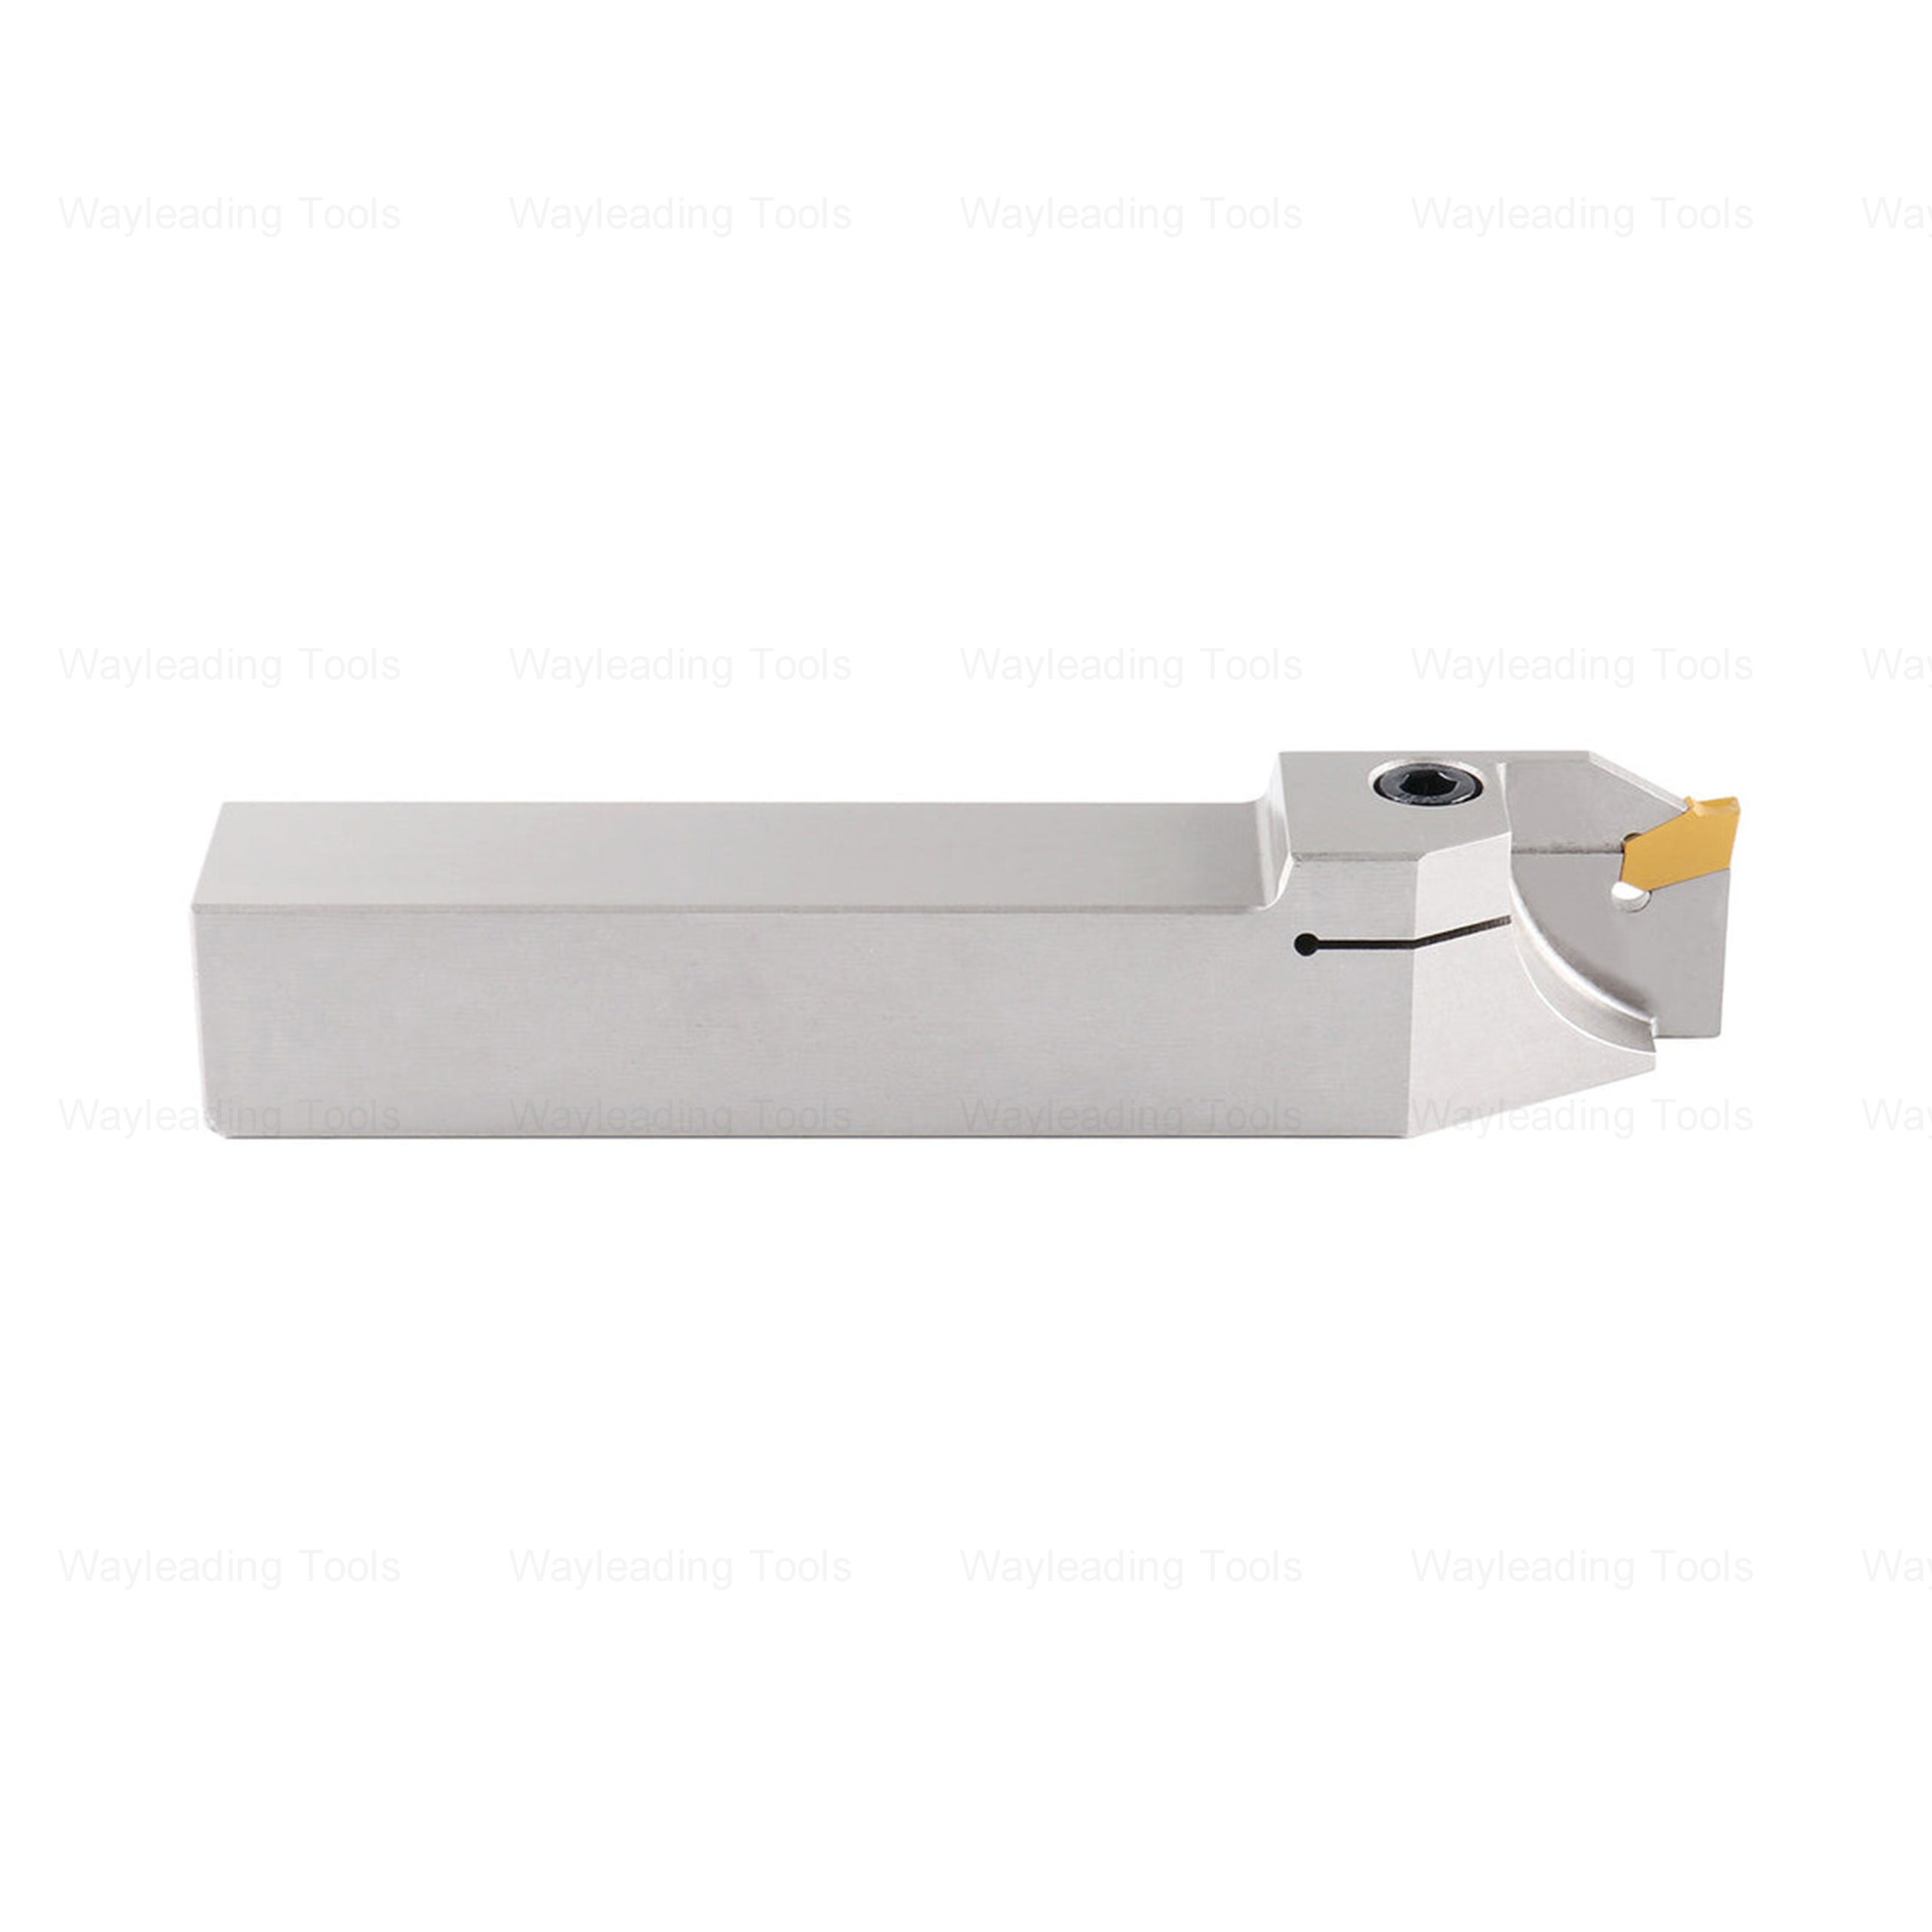 QA Grooving & Cut-Off Tool Holder
 -
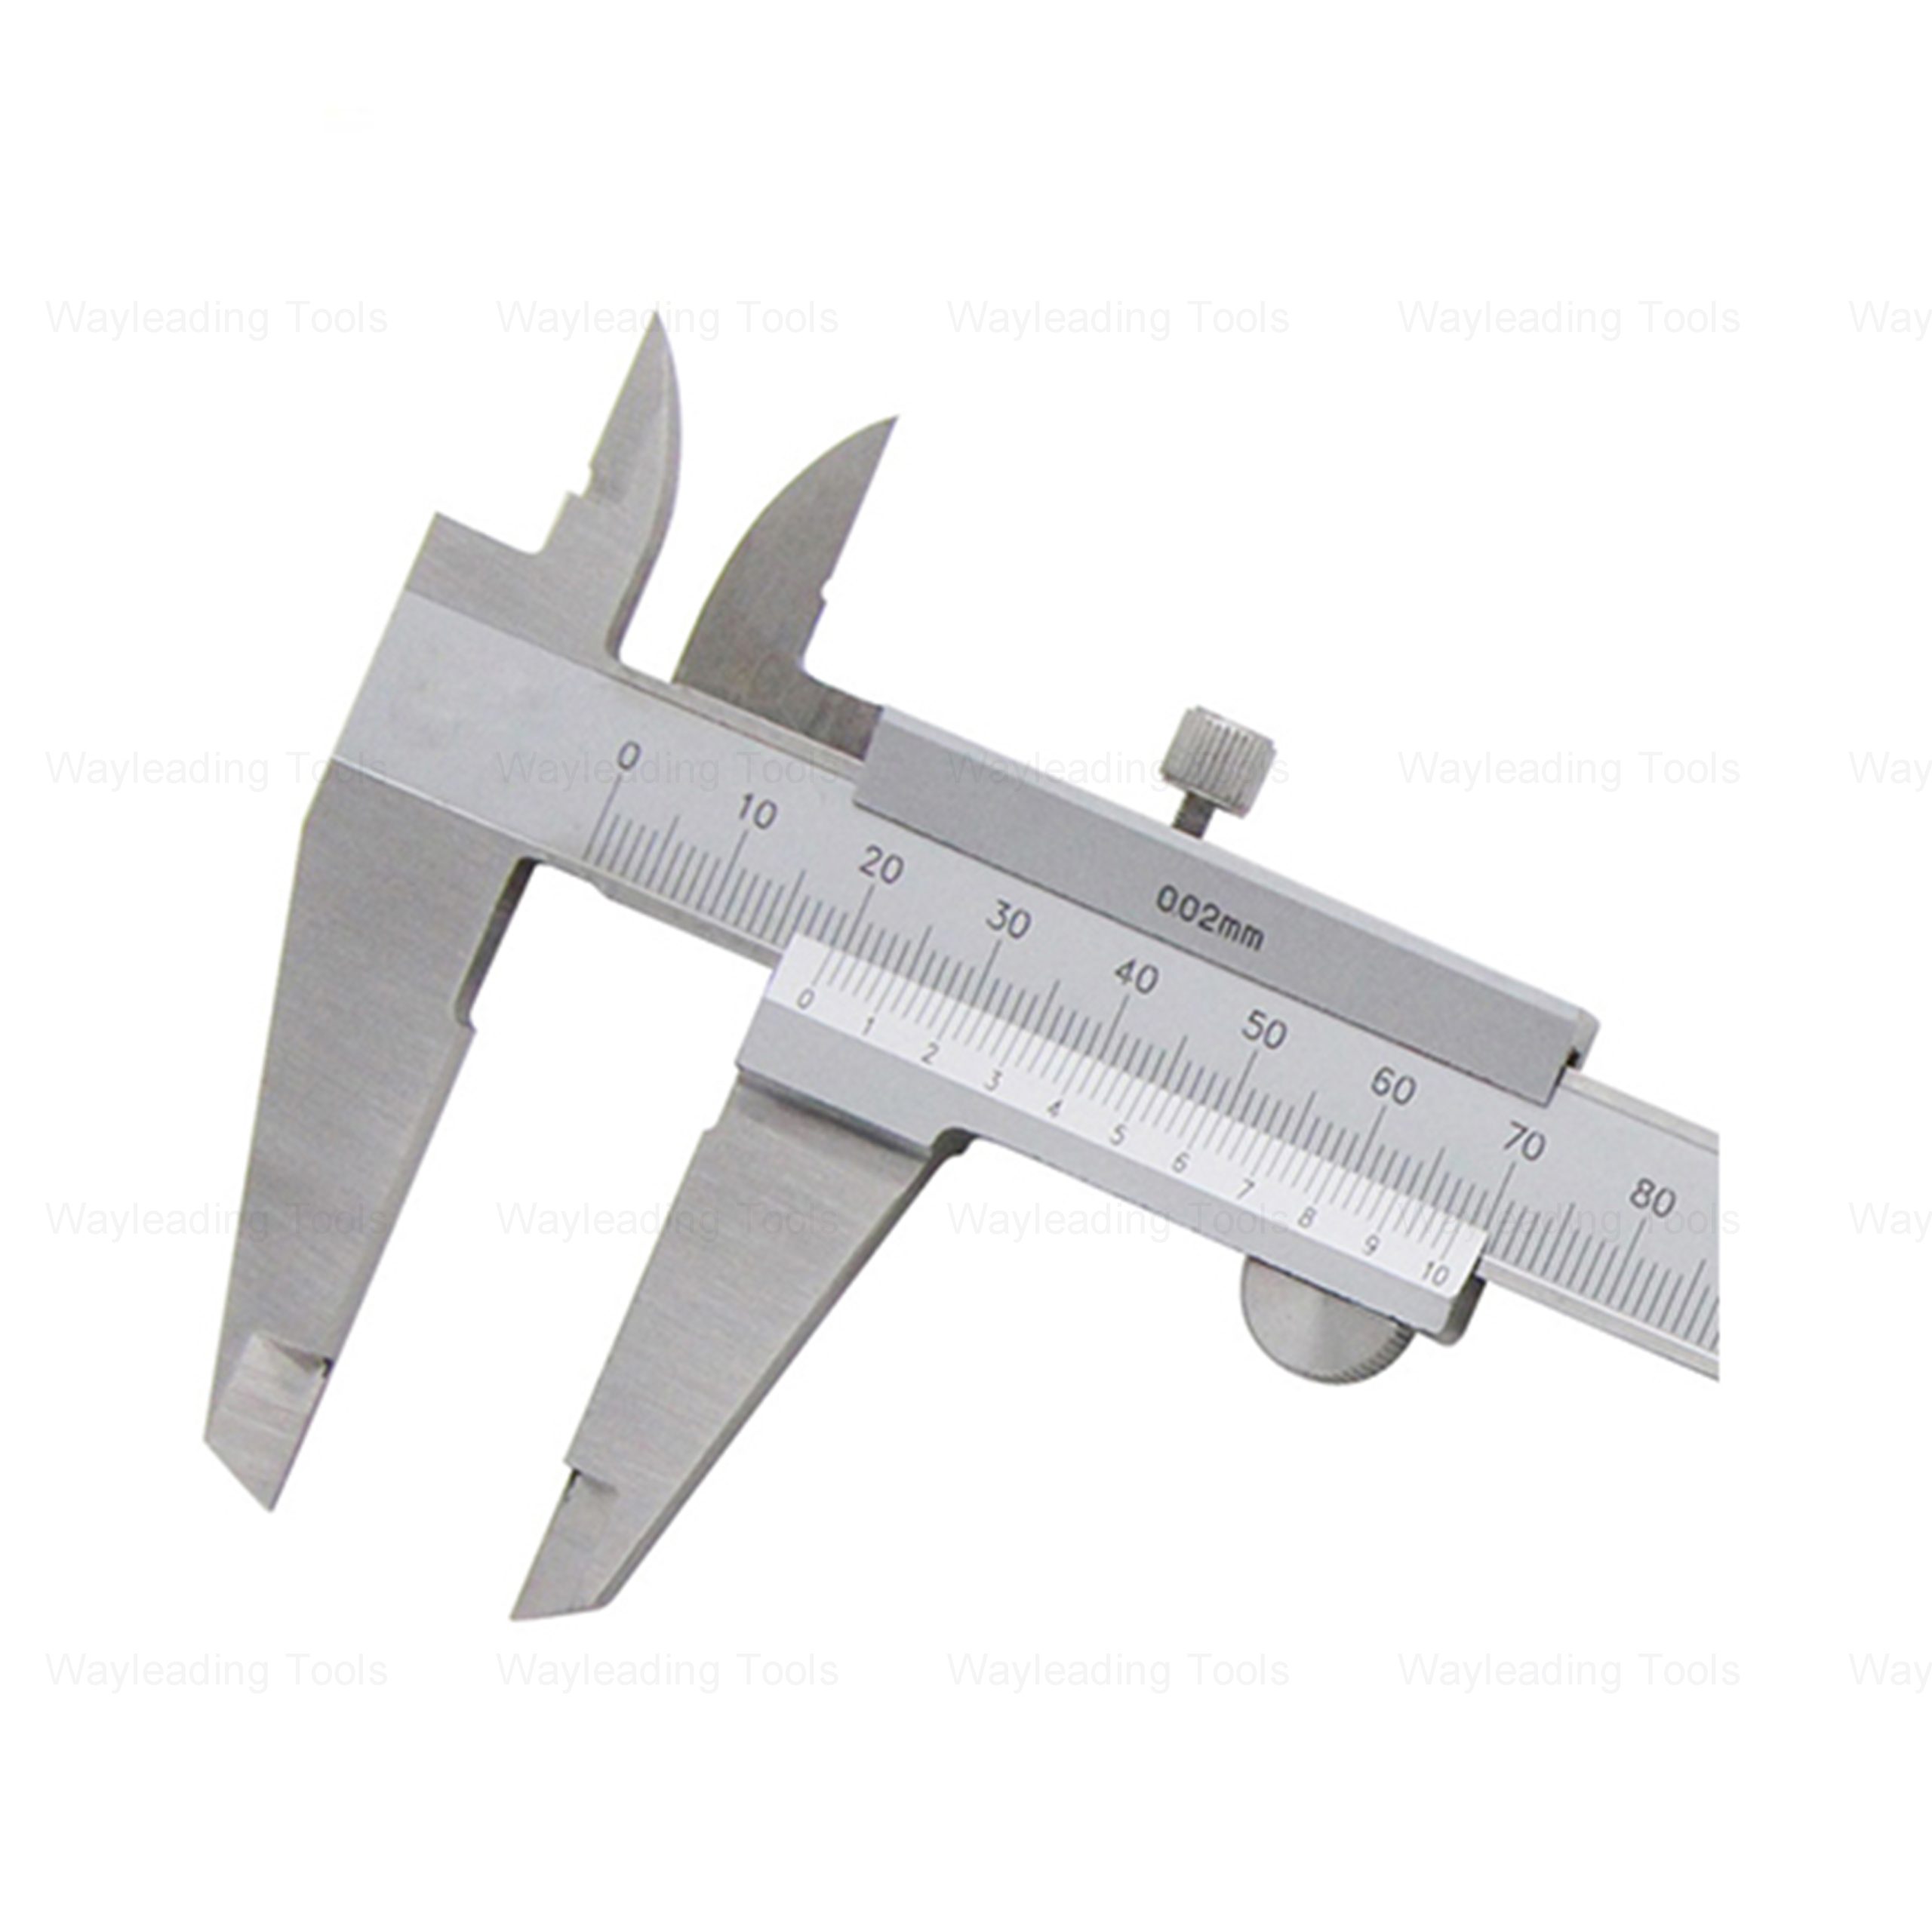
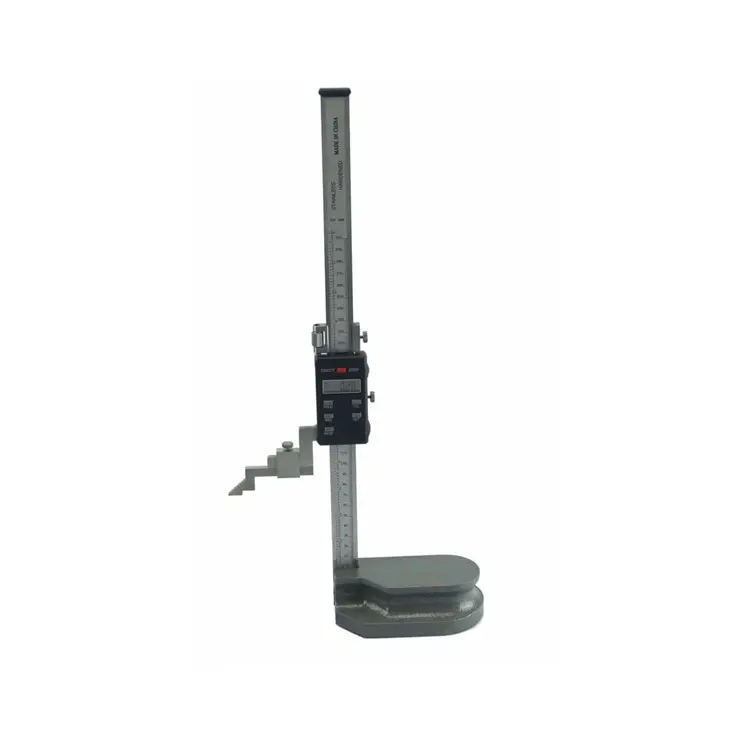 Electronic Digital Height Gauge From 300 to 2000mm
 -
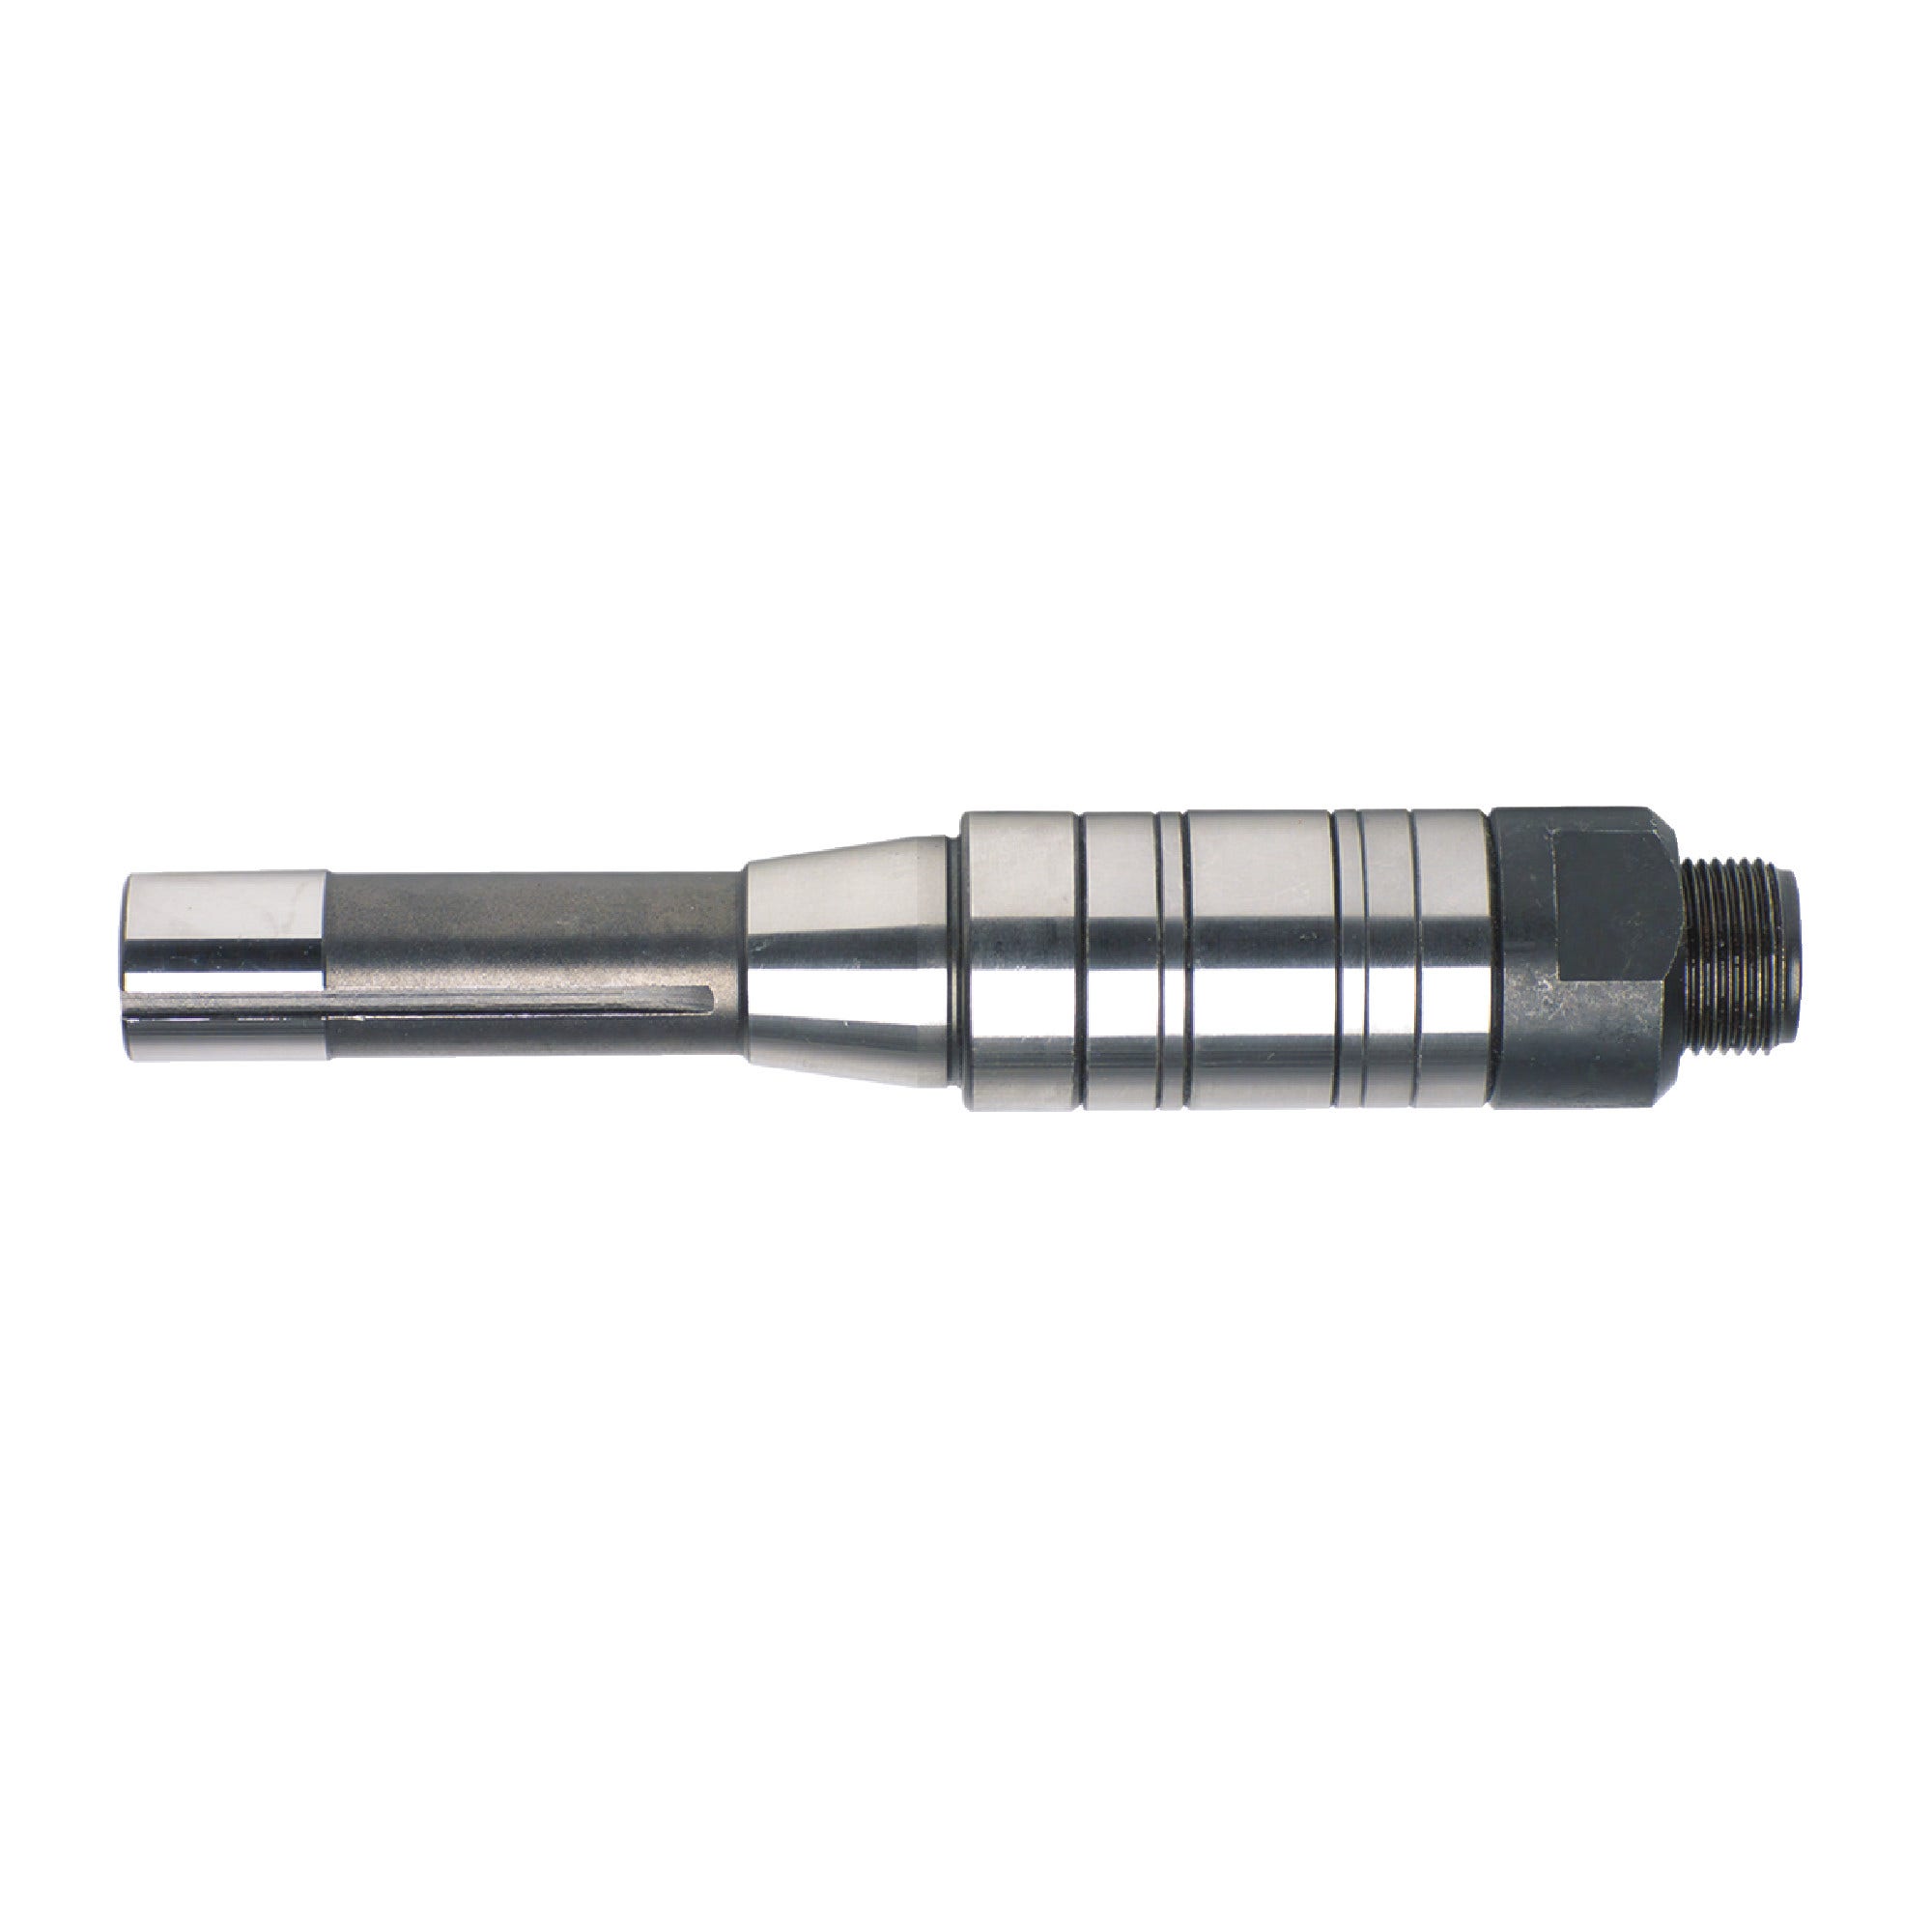 Stub Milling Machine Arbor With NT, R8 and MT Shank
 -
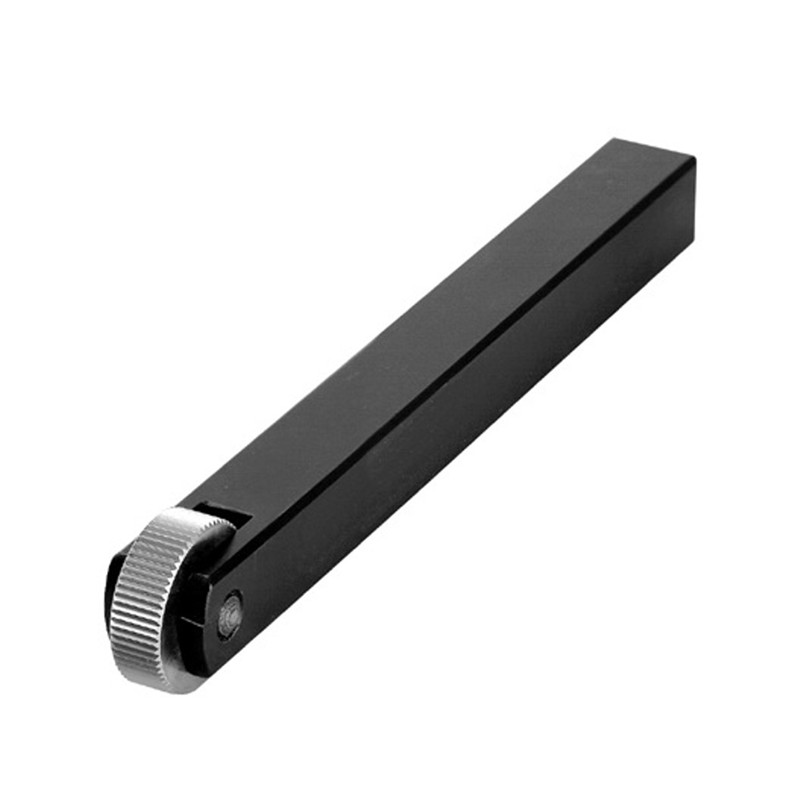 Single Wheel Knurling Tools With Straight Pattern For Industrial Type
 -
 Type M Cone Tungsten Carbide Rotary Burr
 -
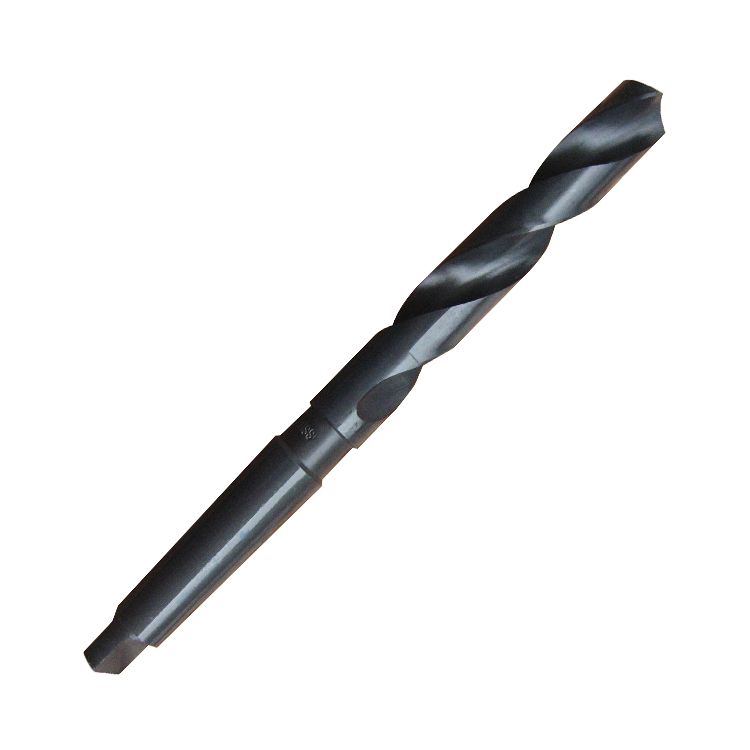 HSS Inch Taper Shank Twit Drills For Metal Cutting Of High Precision
 -
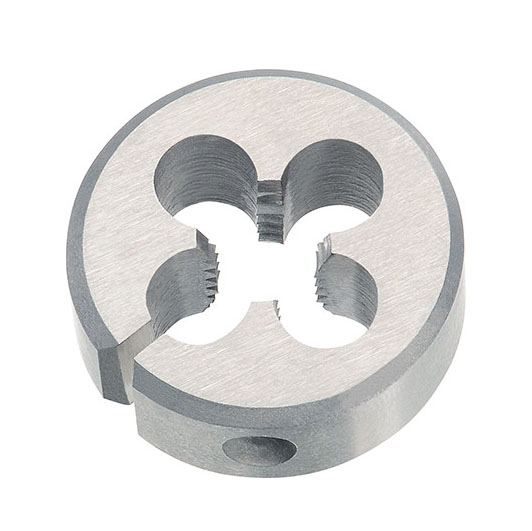 HSS ISO Metric Round Die Wieh Splite Or Adjustable Splite Type
 -
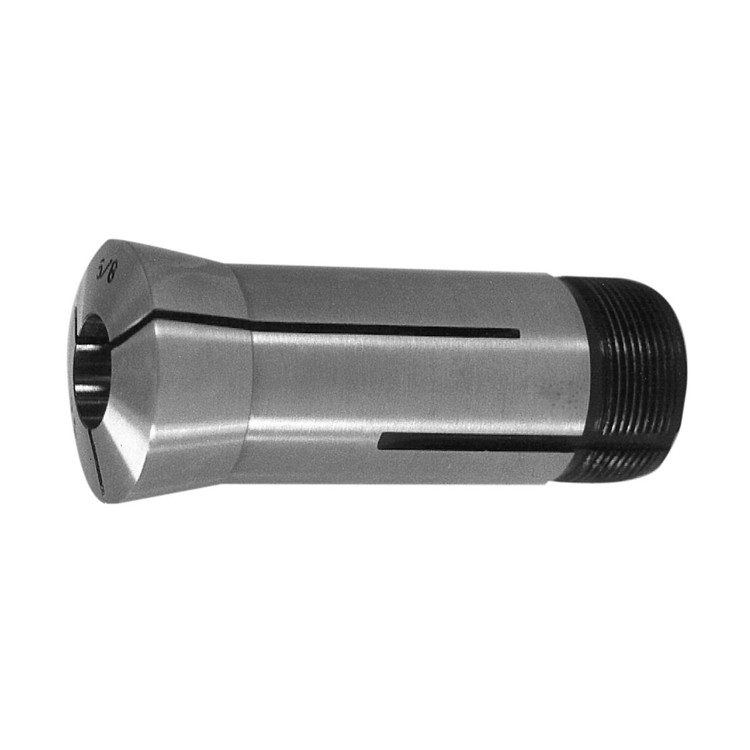
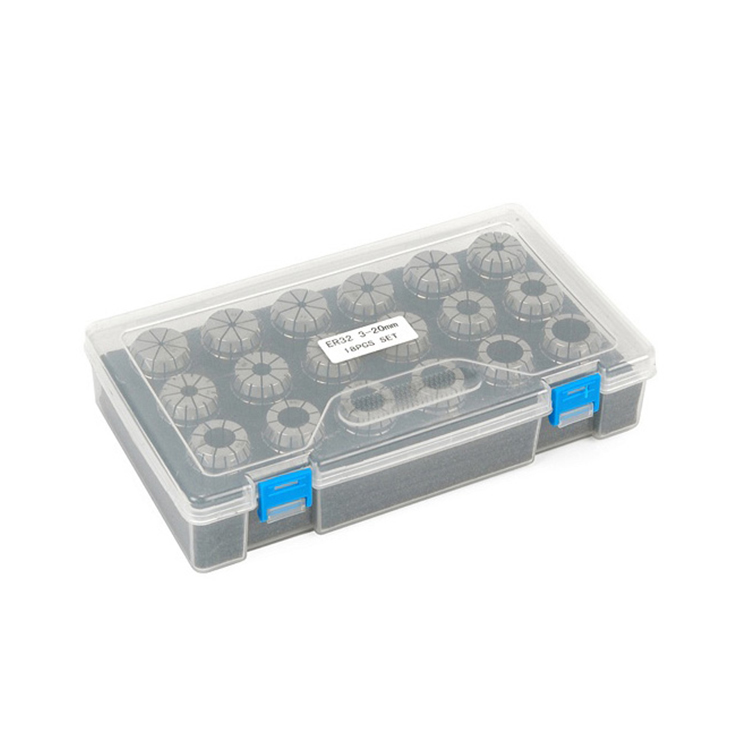 ER Collet Set With Hight Precision Milling


