
Dial bore indicator
A dial bore indicator is a precision measuring instrument used to accurately determine the internal diameter of a bore or hole. It consists of a dial indicator mounted on a movable head with two contact points. As the head is moved through the bore, the dial bore indicator displays variations in diameter, allowing for precise measurement and analysis of bore geometry. This guide provides a deep dive into the workings, applications, selection criteria, and best practices for using a dial bore indicator, ensuring accurate and reliable measurements in various industries.Understanding Dial Bore IndicatorsA dial bore indicator, also known as a cylinder bore gauge, is an essential tool for machinists, engineers, and quality control professionals. It allows for precise measurement of internal diameters, detection of ovality, taper, and other bore irregularities.Components of a Dial Bore IndicatorA typical dial bore indicator comprises the following: Dial Indicator: Displays the measurement readings. Measuring Head: Contains the contact points that engage with the bore wall. Extension Rods: Used to reach various bore depths. Centralizing Device: Ensures the gauge is centered within the bore for accurate measurements.How a Dial Bore Indicator WorksThe dial bore indicator is inserted into the bore, and the centralizing device aligns the gauge. As the measuring head moves through the bore, any variations in the diameter are transmitted to the dial indicator, which displays the difference between the set dimension and the actual dimension. The user can then record these measurements to analyze the bore's geometry.Applications of Dial Bore IndicatorsDial bore indicators are used in a wide range of applications, including: Engine Rebuilding: Measuring cylinder bores to determine wear and ovality. Manufacturing: Inspecting the dimensions of machined parts. Quality Control: Ensuring parts meet specified tolerances. Automotive Repair: Verifying brake cylinder and transmission bore dimensions.Selecting the Right Dial Bore IndicatorChoosing the appropriate dial bore indicator is crucial for accurate measurements. Consider the following factors:Measurement RangeSelect a dial bore indicator with a measurement range that encompasses the sizes of the bores you will be measuring. Many models come with interchangeable anvils to accommodate different ranges.Resolution and AccuracyHigher resolution and accuracy are essential for precise measurements. Look for models with a resolution of 0.0001' (0.002mm) or better.Gauge LengthEnsure the gauge length is sufficient to reach the full depth of the bore being measured. Extension rods can be used to increase the reach.Dial Indicator TypeConsider the type of dial indicator: analog or digital. Digital indicators offer easier reading and data recording, while analog indicators are often more durable and less susceptible to electronic failure.Brand and QualityInvesting in a reputable brand ensures the gauge's accuracy, durability, and reliability. Check out options available at Wayleading Tools, a trusted supplier of precision measurement instruments.Using a Dial Bore Indicator: A Step-by-Step GuideFollow these steps for accurate and reliable measurements: Calibration: Calibrate the dial bore indicator using a setting ring or gauge block that matches the nominal bore size. Zeroing: Adjust the dial indicator to zero at the calibrated size. Insertion: Carefully insert the gauge into the bore, ensuring the centralizing device is engaged. Measurement: Slowly move the gauge through the bore, observing the dial indicator readings. Record the maximum and minimum values. Analysis: Analyze the recorded measurements to determine bore diameter, ovality, taper, and other irregularities.Tips for Accurate MeasurementsFollow these tips to ensure accuracy: Cleanliness: Ensure the bore and measuring surfaces are clean and free of debris. Temperature: Allow the gauge and workpiece to reach the same temperature to avoid thermal expansion errors. Alignment: Maintain proper alignment of the gauge within the bore. Consistency: Take multiple measurements at different locations and orientations to minimize errors.Common Issues and TroubleshootingHere are some common issues and troubleshooting tips: Inconsistent Readings: Check for loose components, dirt, or damage to the measuring surfaces. Difficulty Zeroing: Verify the calibration standard is accurate and the gauge is properly adjusted. Gauge Sticking: Clean and lubricate the gauge components.Dial Bore Indicator vs. Other Measurement ToolsWhile other tools like telescoping gauges and inside micrometers can measure bores, dial bore indicators offer several advantages: Tool Accuracy Ease of Use Features Dial Bore Indicator High Moderate Direct reading, detects ovality and taper Telescoping Gauge Moderate High Requires additional measurement tool (micrometer) Inside Micrometer High Moderate Direct reading, limited to certain bore sizes Maintenance and StorageProper maintenance ensures the longevity and accuracy of your dial bore indicator. Follow these guidelines: Cleaning: Regularly clean the gauge with a soft cloth and mild solvent. Lubrication: Apply a light coat of oil to the moving parts to prevent corrosion. Storage: Store the gauge in a protective case in a clean, dry environment.ConclusionThe dial bore indicator is an indispensable tool for anyone requiring accurate measurement of internal diameters. By understanding its components, applications, selection criteria, and best practices, you can ensure reliable and precise measurements. Remember to calibrate your gauge, maintain it properly, and choose the right model for your specific needs.For high-quality dial bore indicators and other precision measurement tools, visit Wayleading Tools.Disclaimer: This article provides general information and should not be considered a substitute for professional advice. Always consult with qualified experts for specific applications and safety guidelines.
Related products
Related products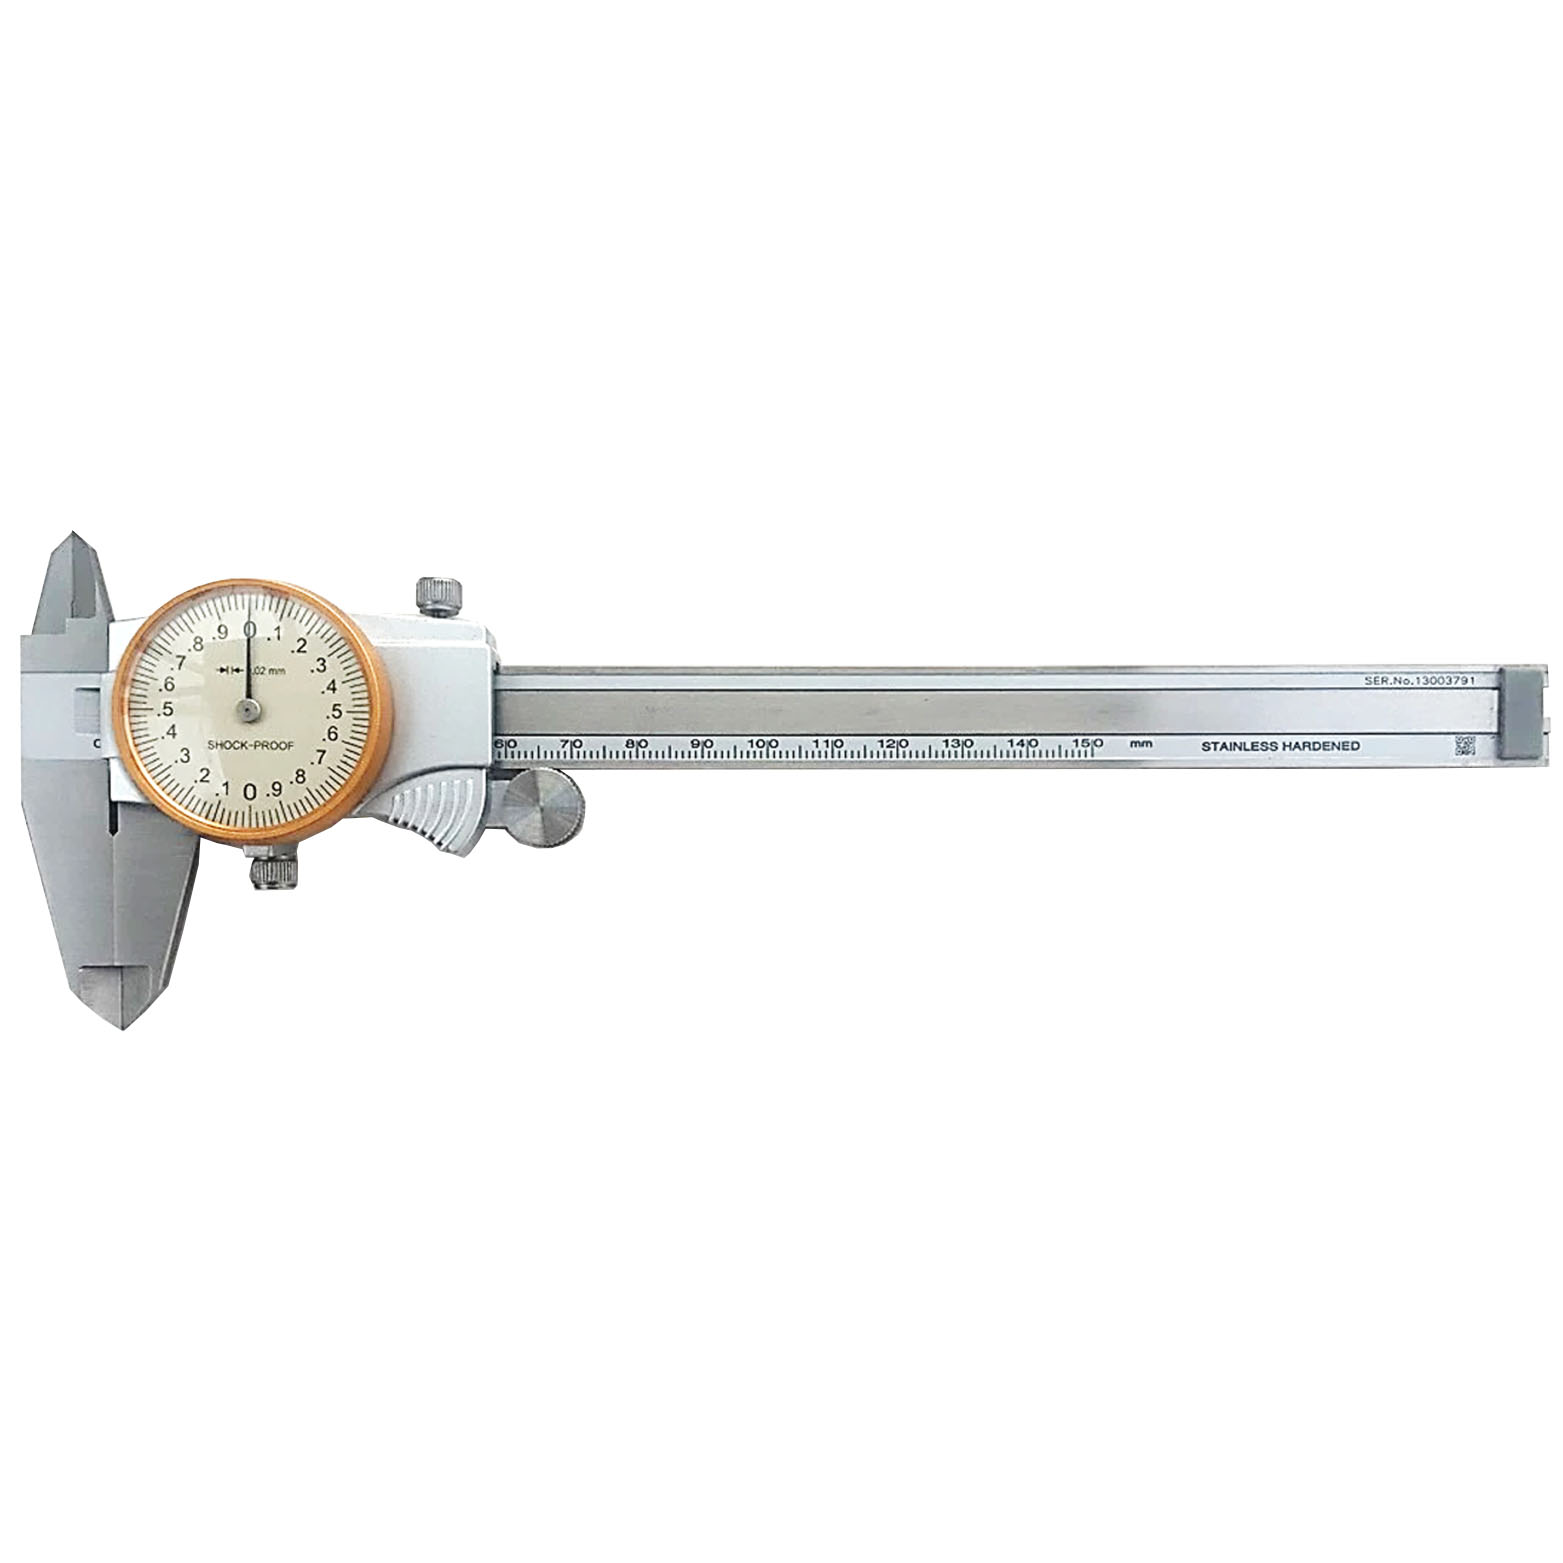

Best selling products
Best selling products-
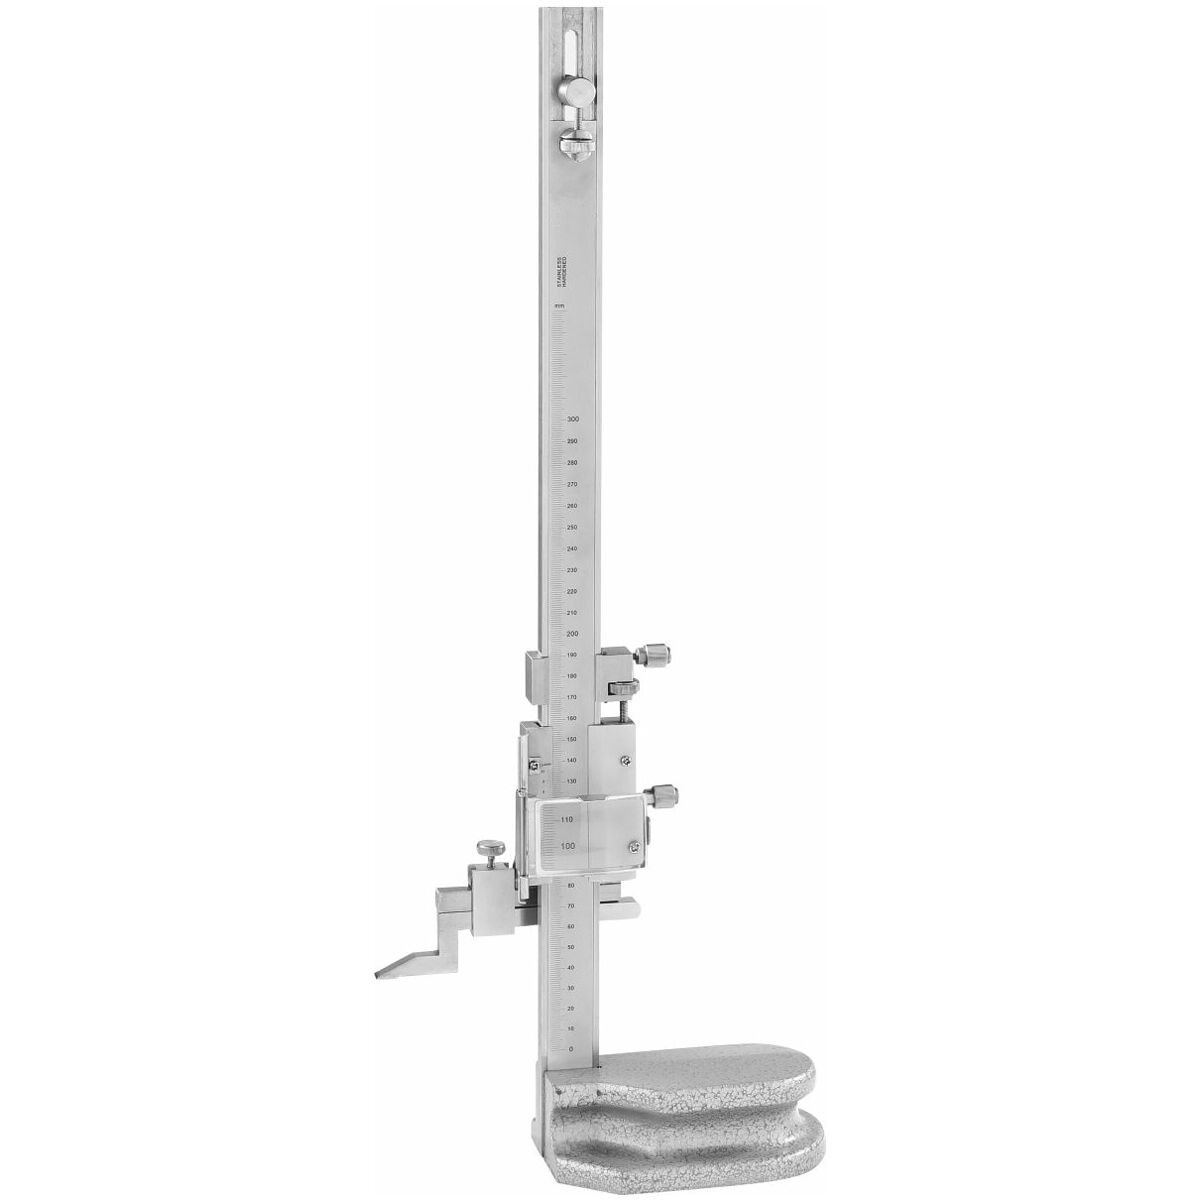
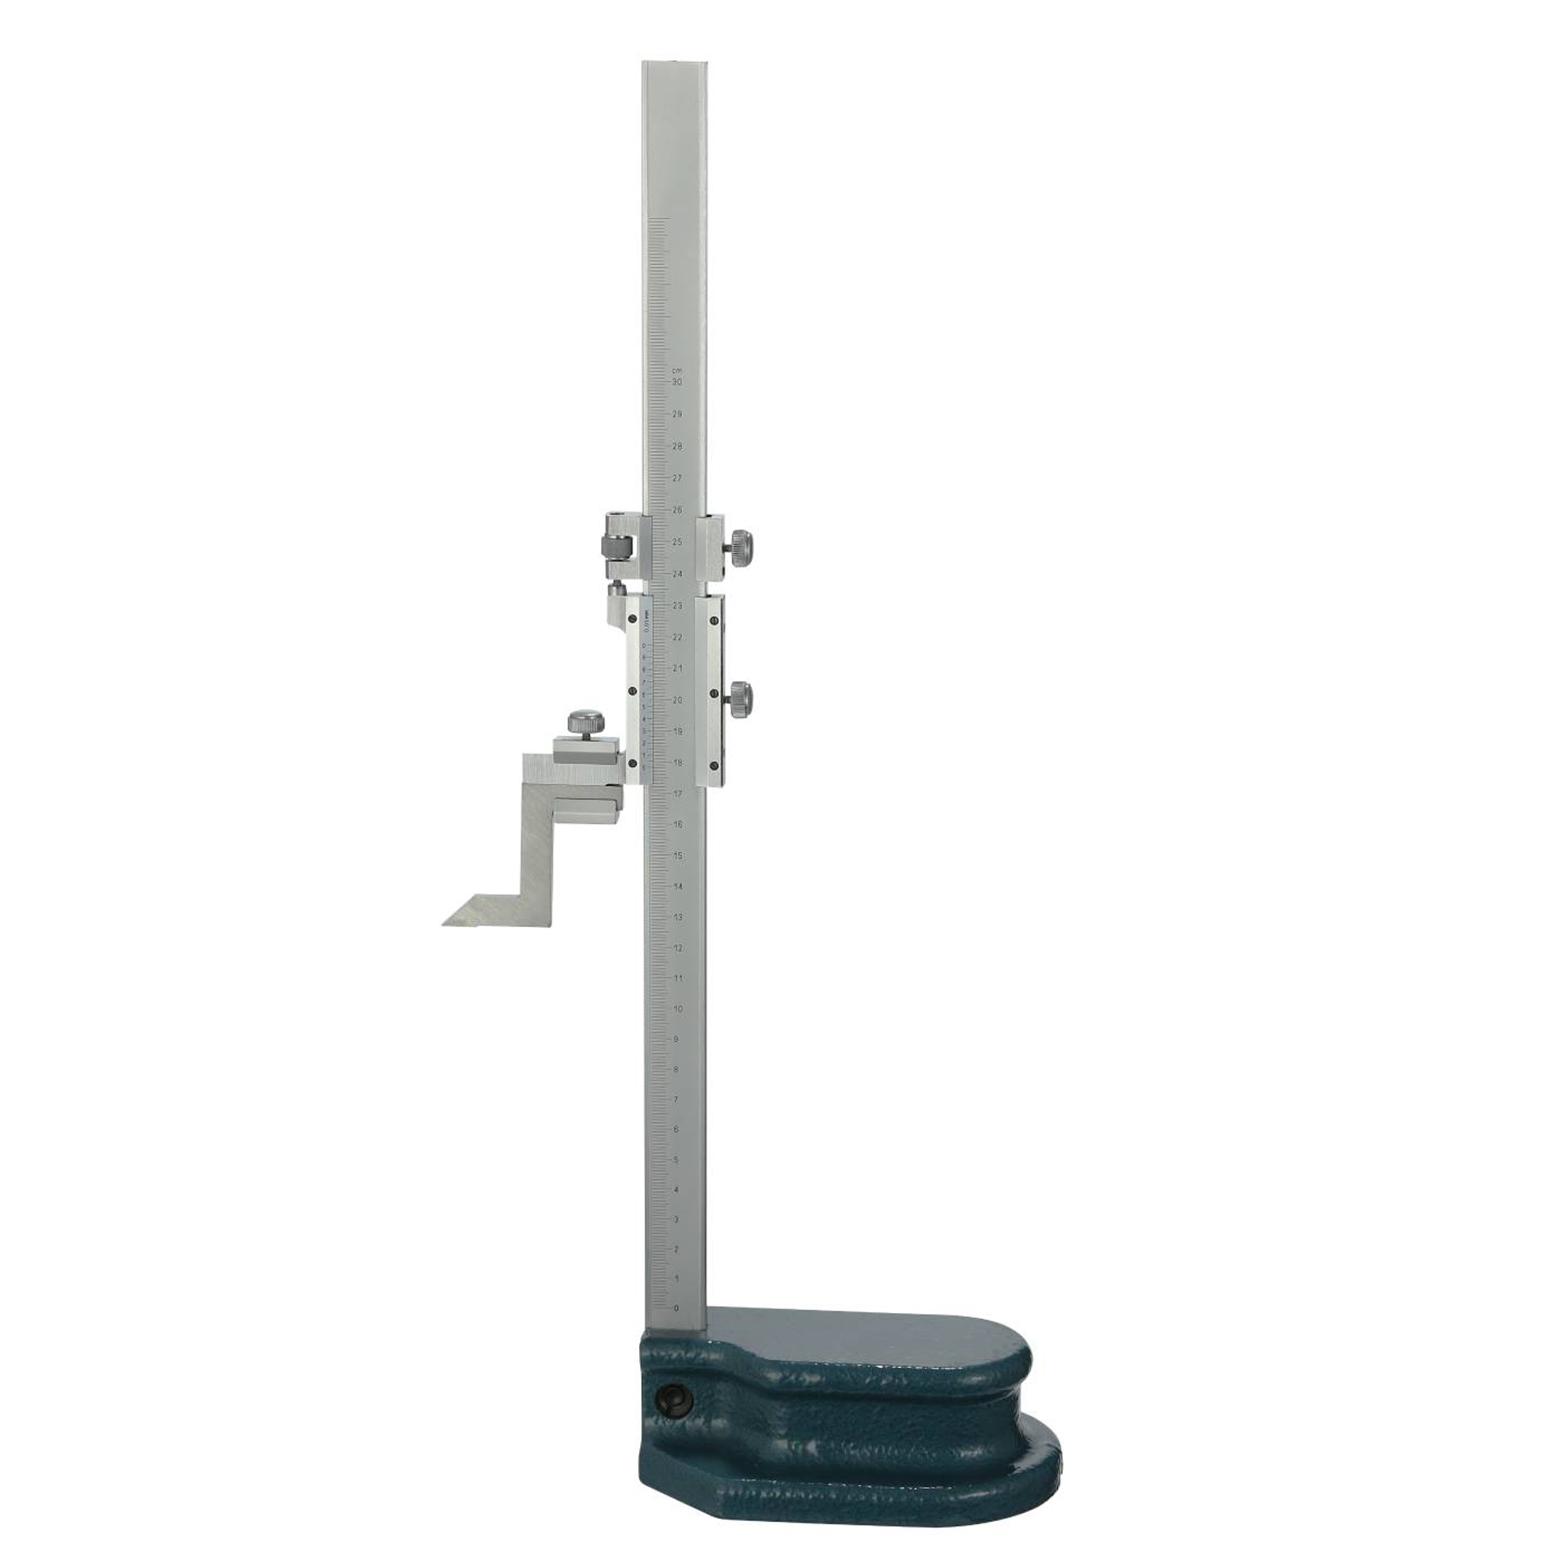 Vernier Height Gauge For Industrial
 -
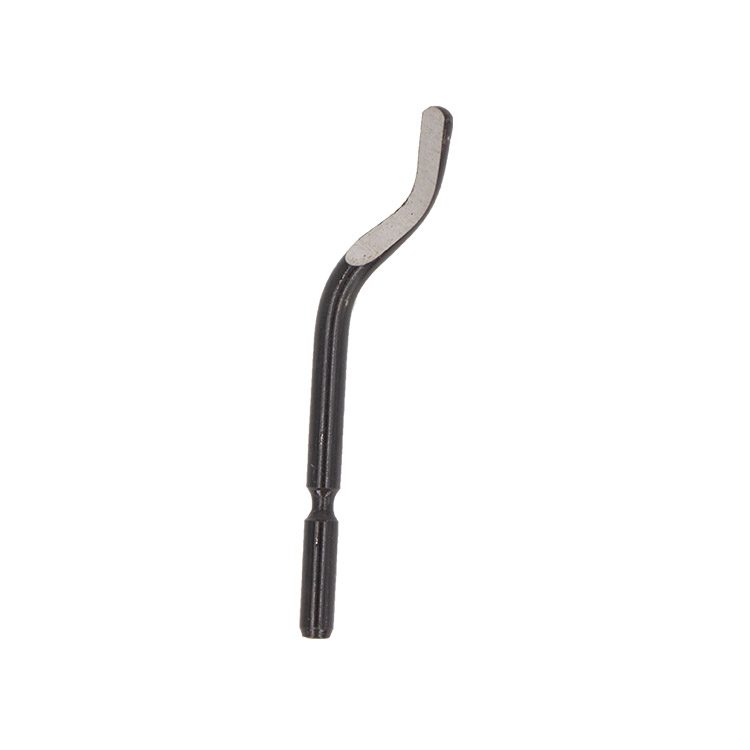 Deburring Tool Blades Using For Deburring
 -
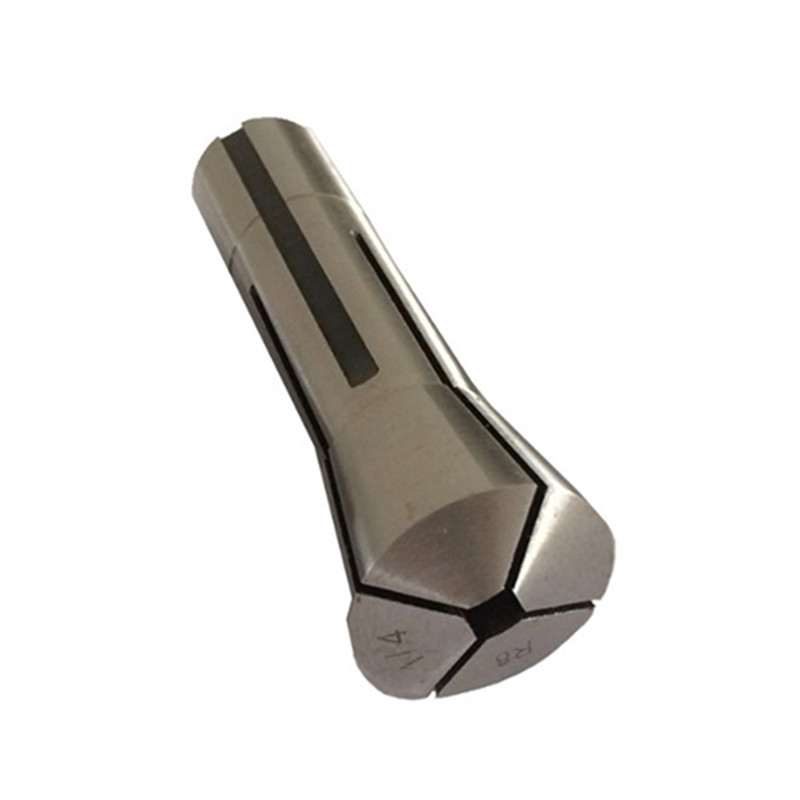 R8 Square Collet With Inch and Metric Size
 -
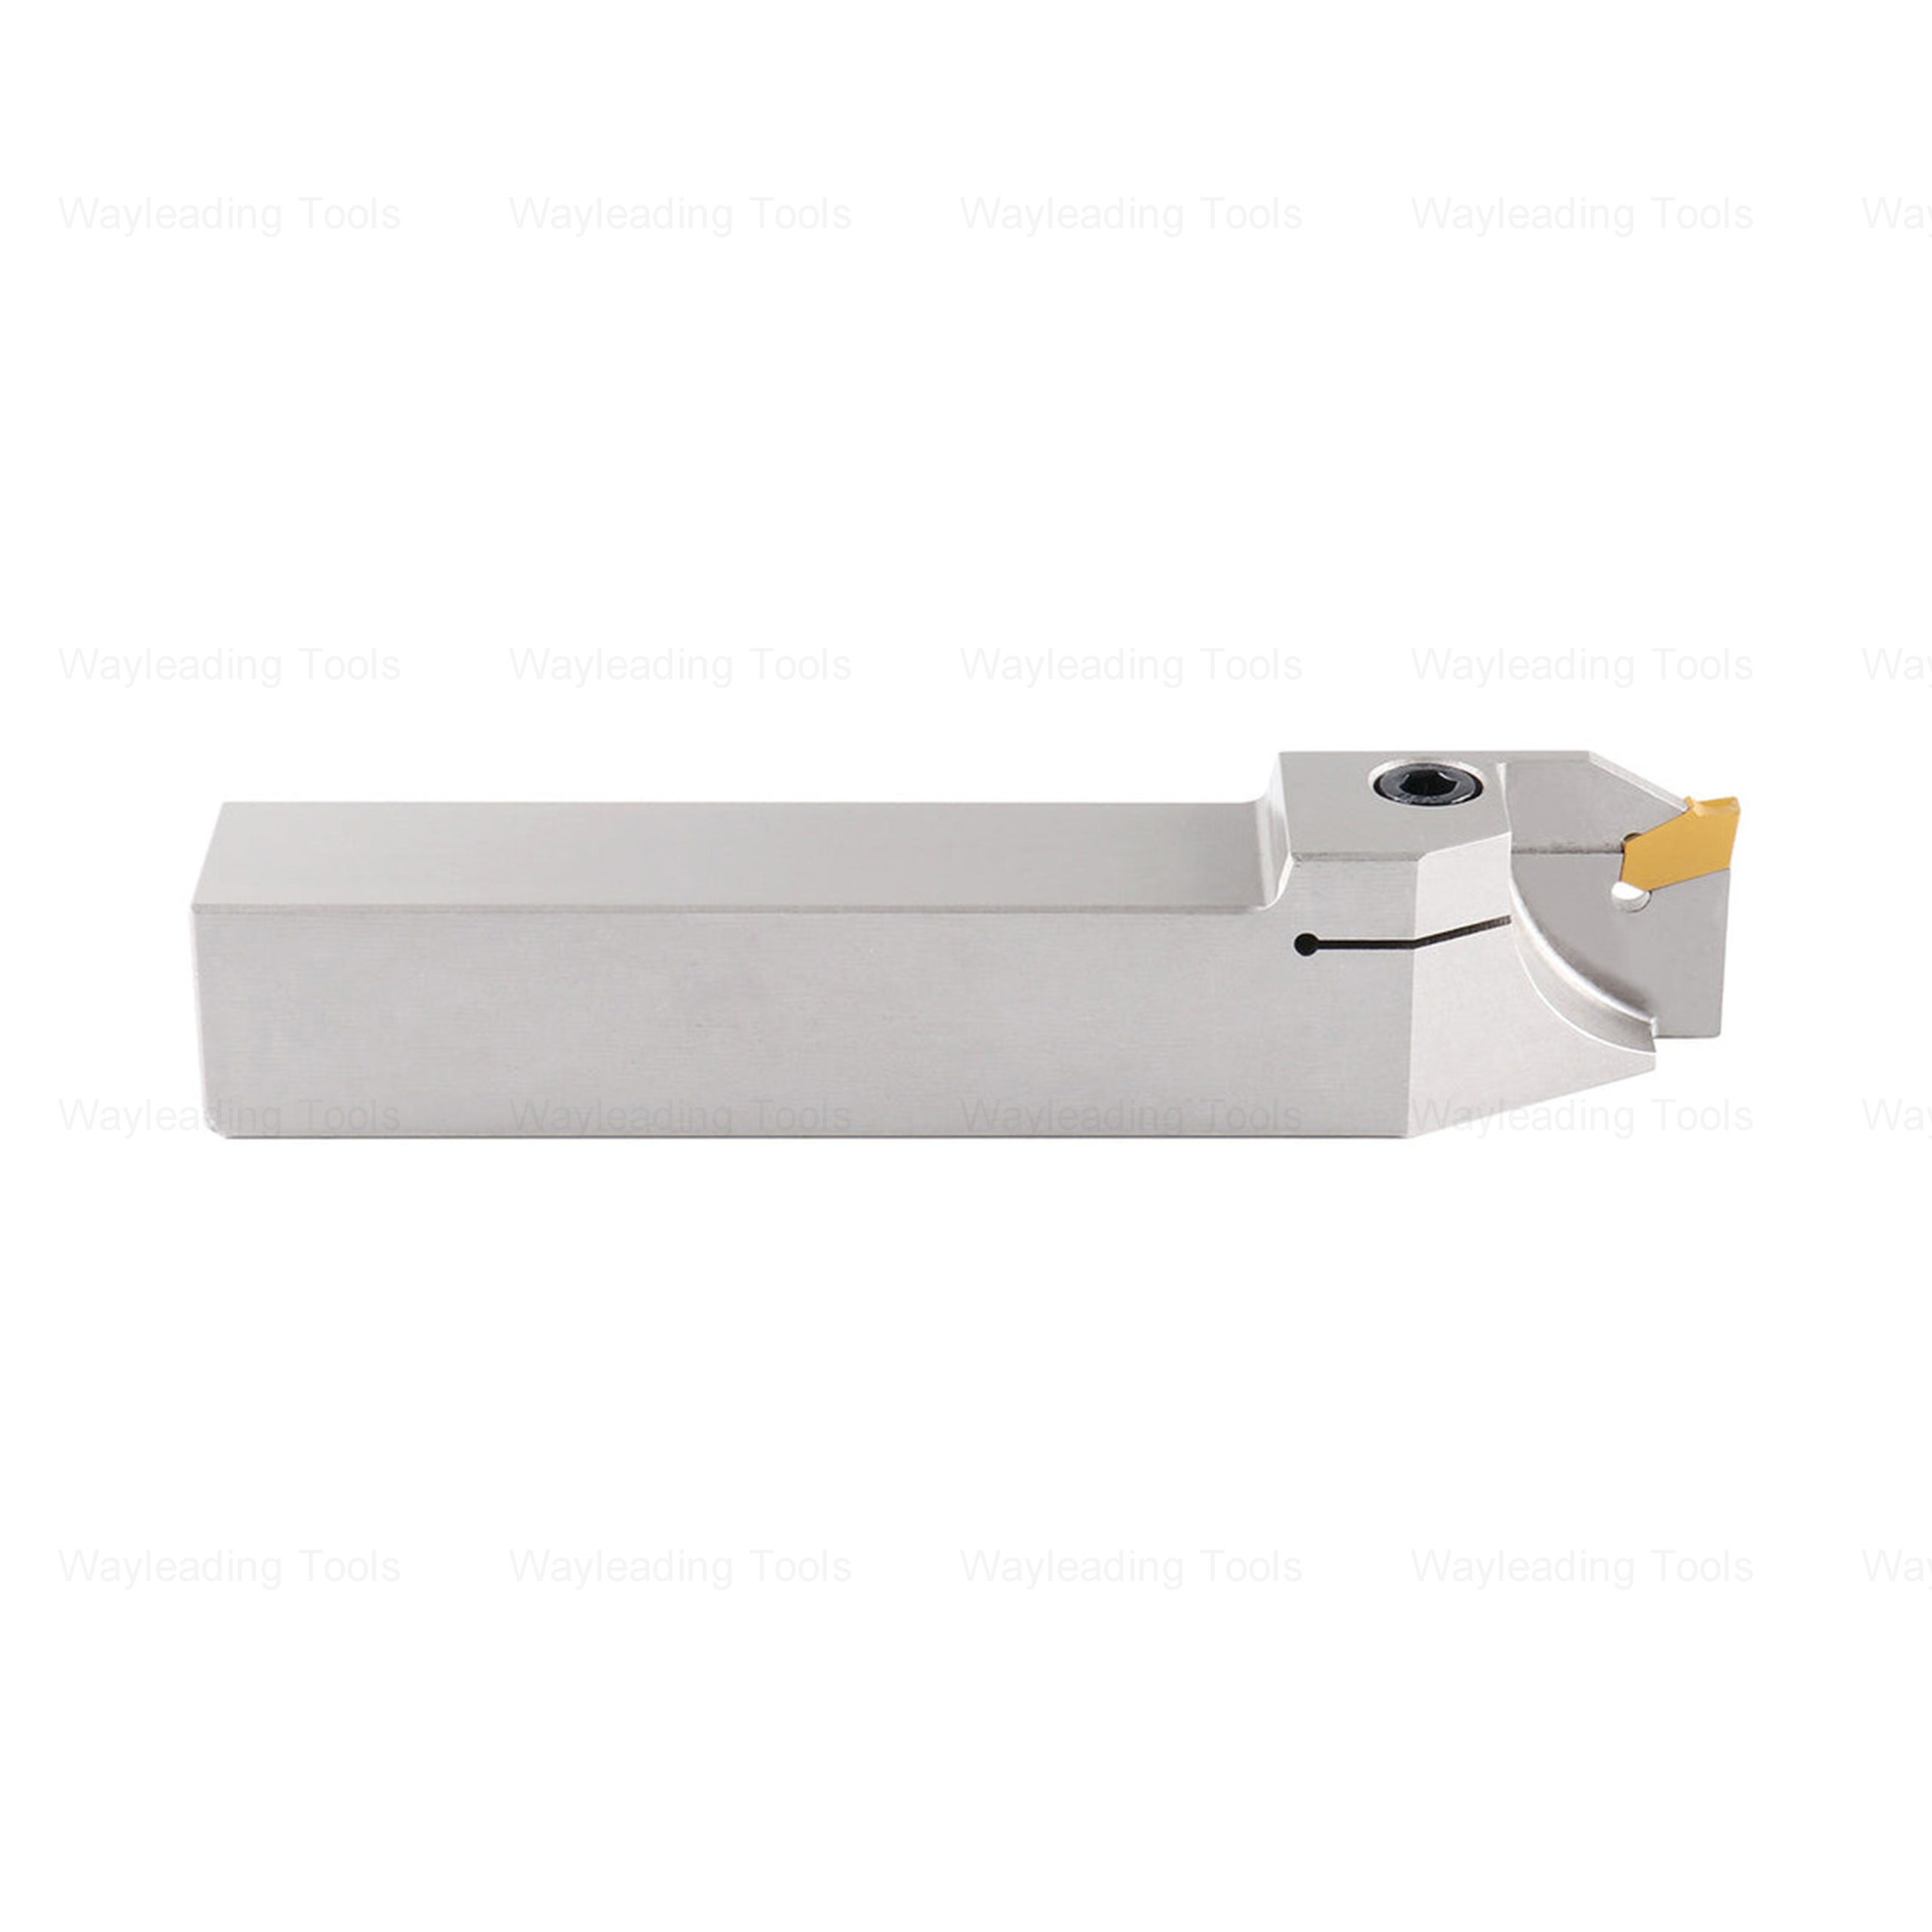 QA Grooving & Cut-Off Tool Holder – Right- and Left-Hand Types
 -
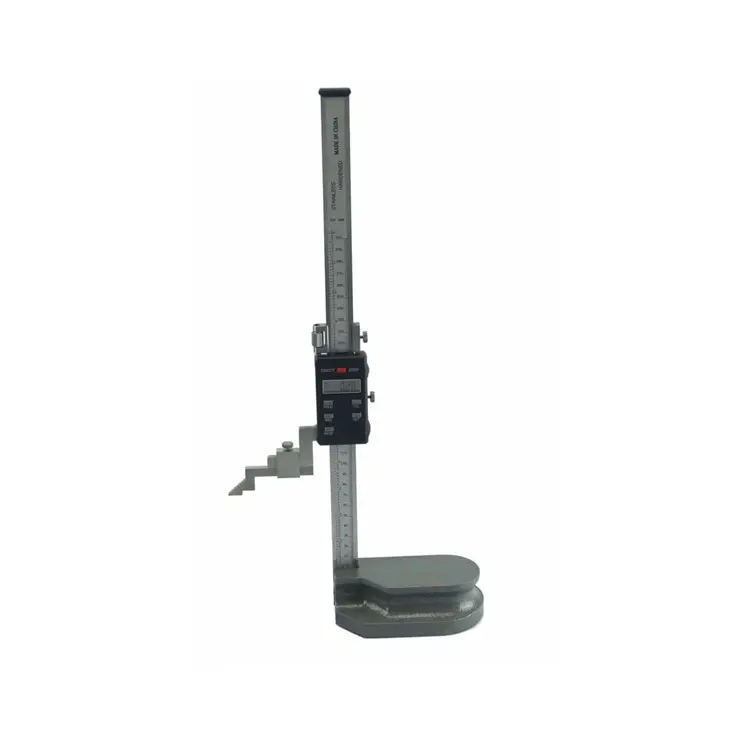 Electronic Digital Height Gauge From 300 to 2000mm
 -
 Vernier Height Gauge With Magnifier With Adjustable Main Bean
 -
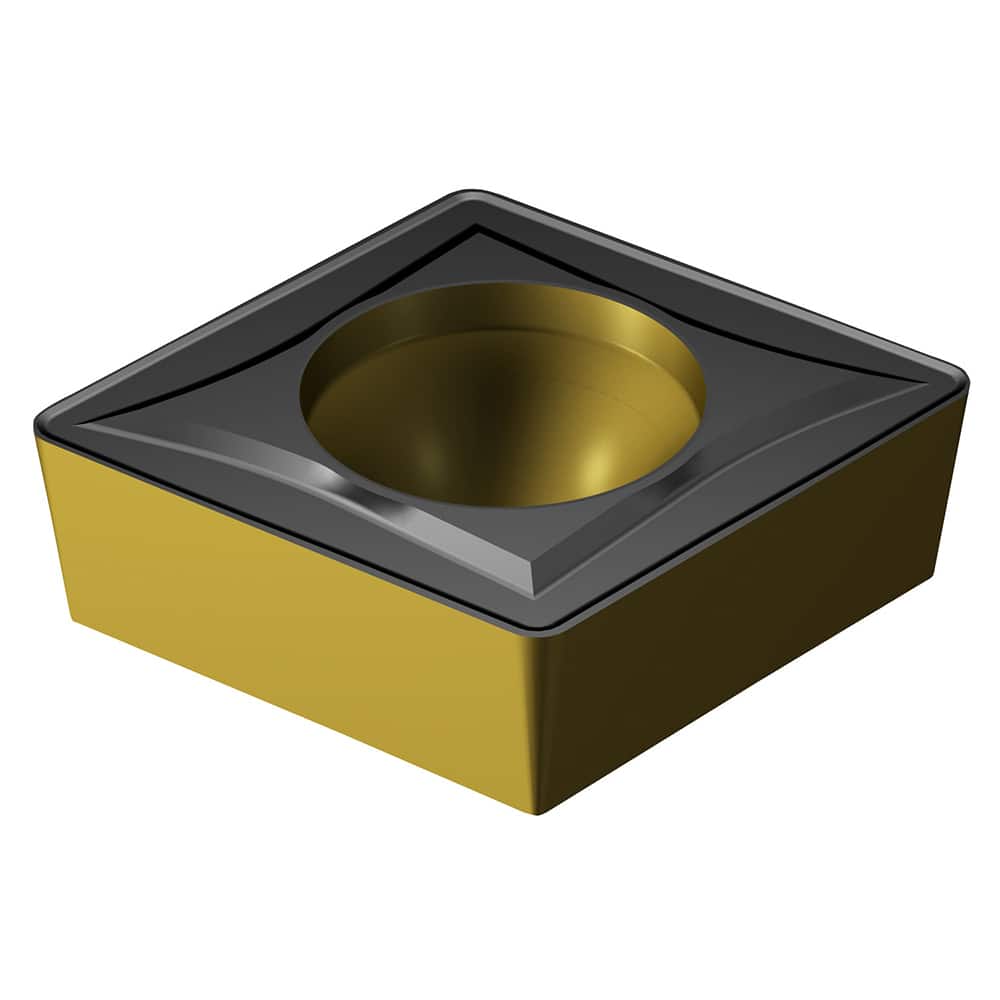 CCMT Turning Insert For Indexable Turning Tool Holder
 -
 HSS Inch Concave Milling Cutter For Industrial
 -
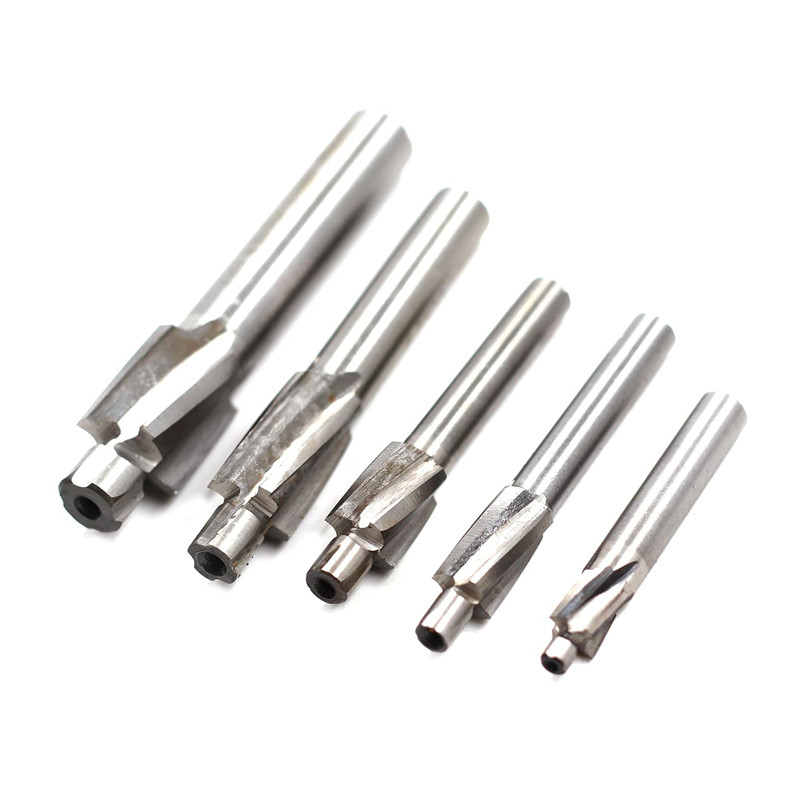 3 Flutes HSS Counterbore Drill Bit With Metric And Inch Size
 -
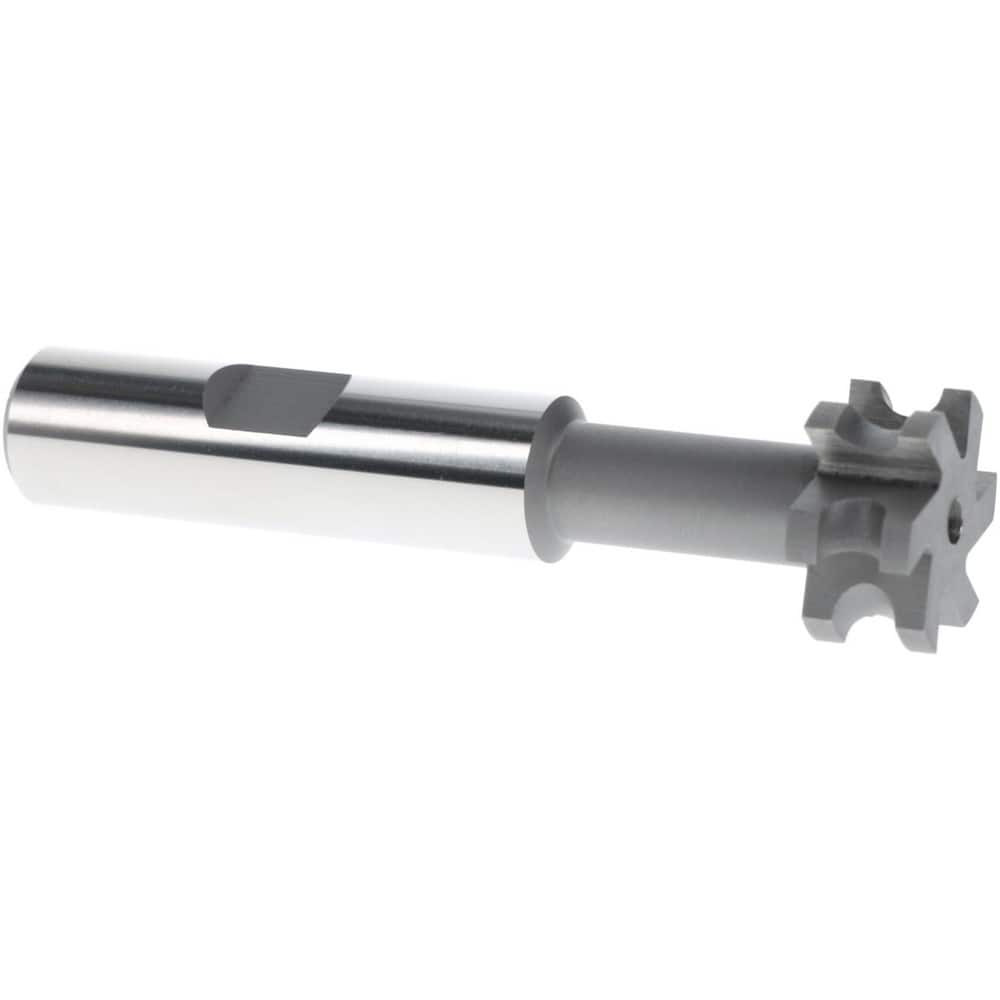
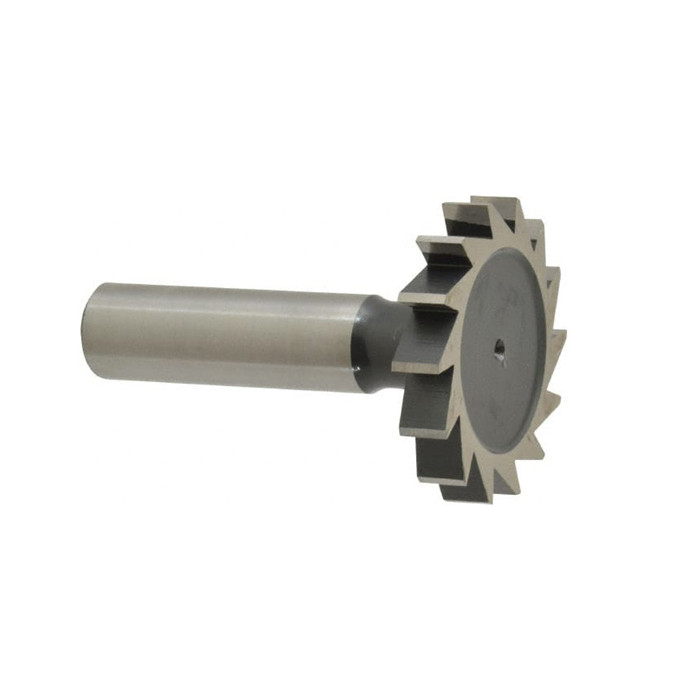 HSS Metric & Inch Woodruff Keyseat Cutter With Straight Or staggered Teeth
 -
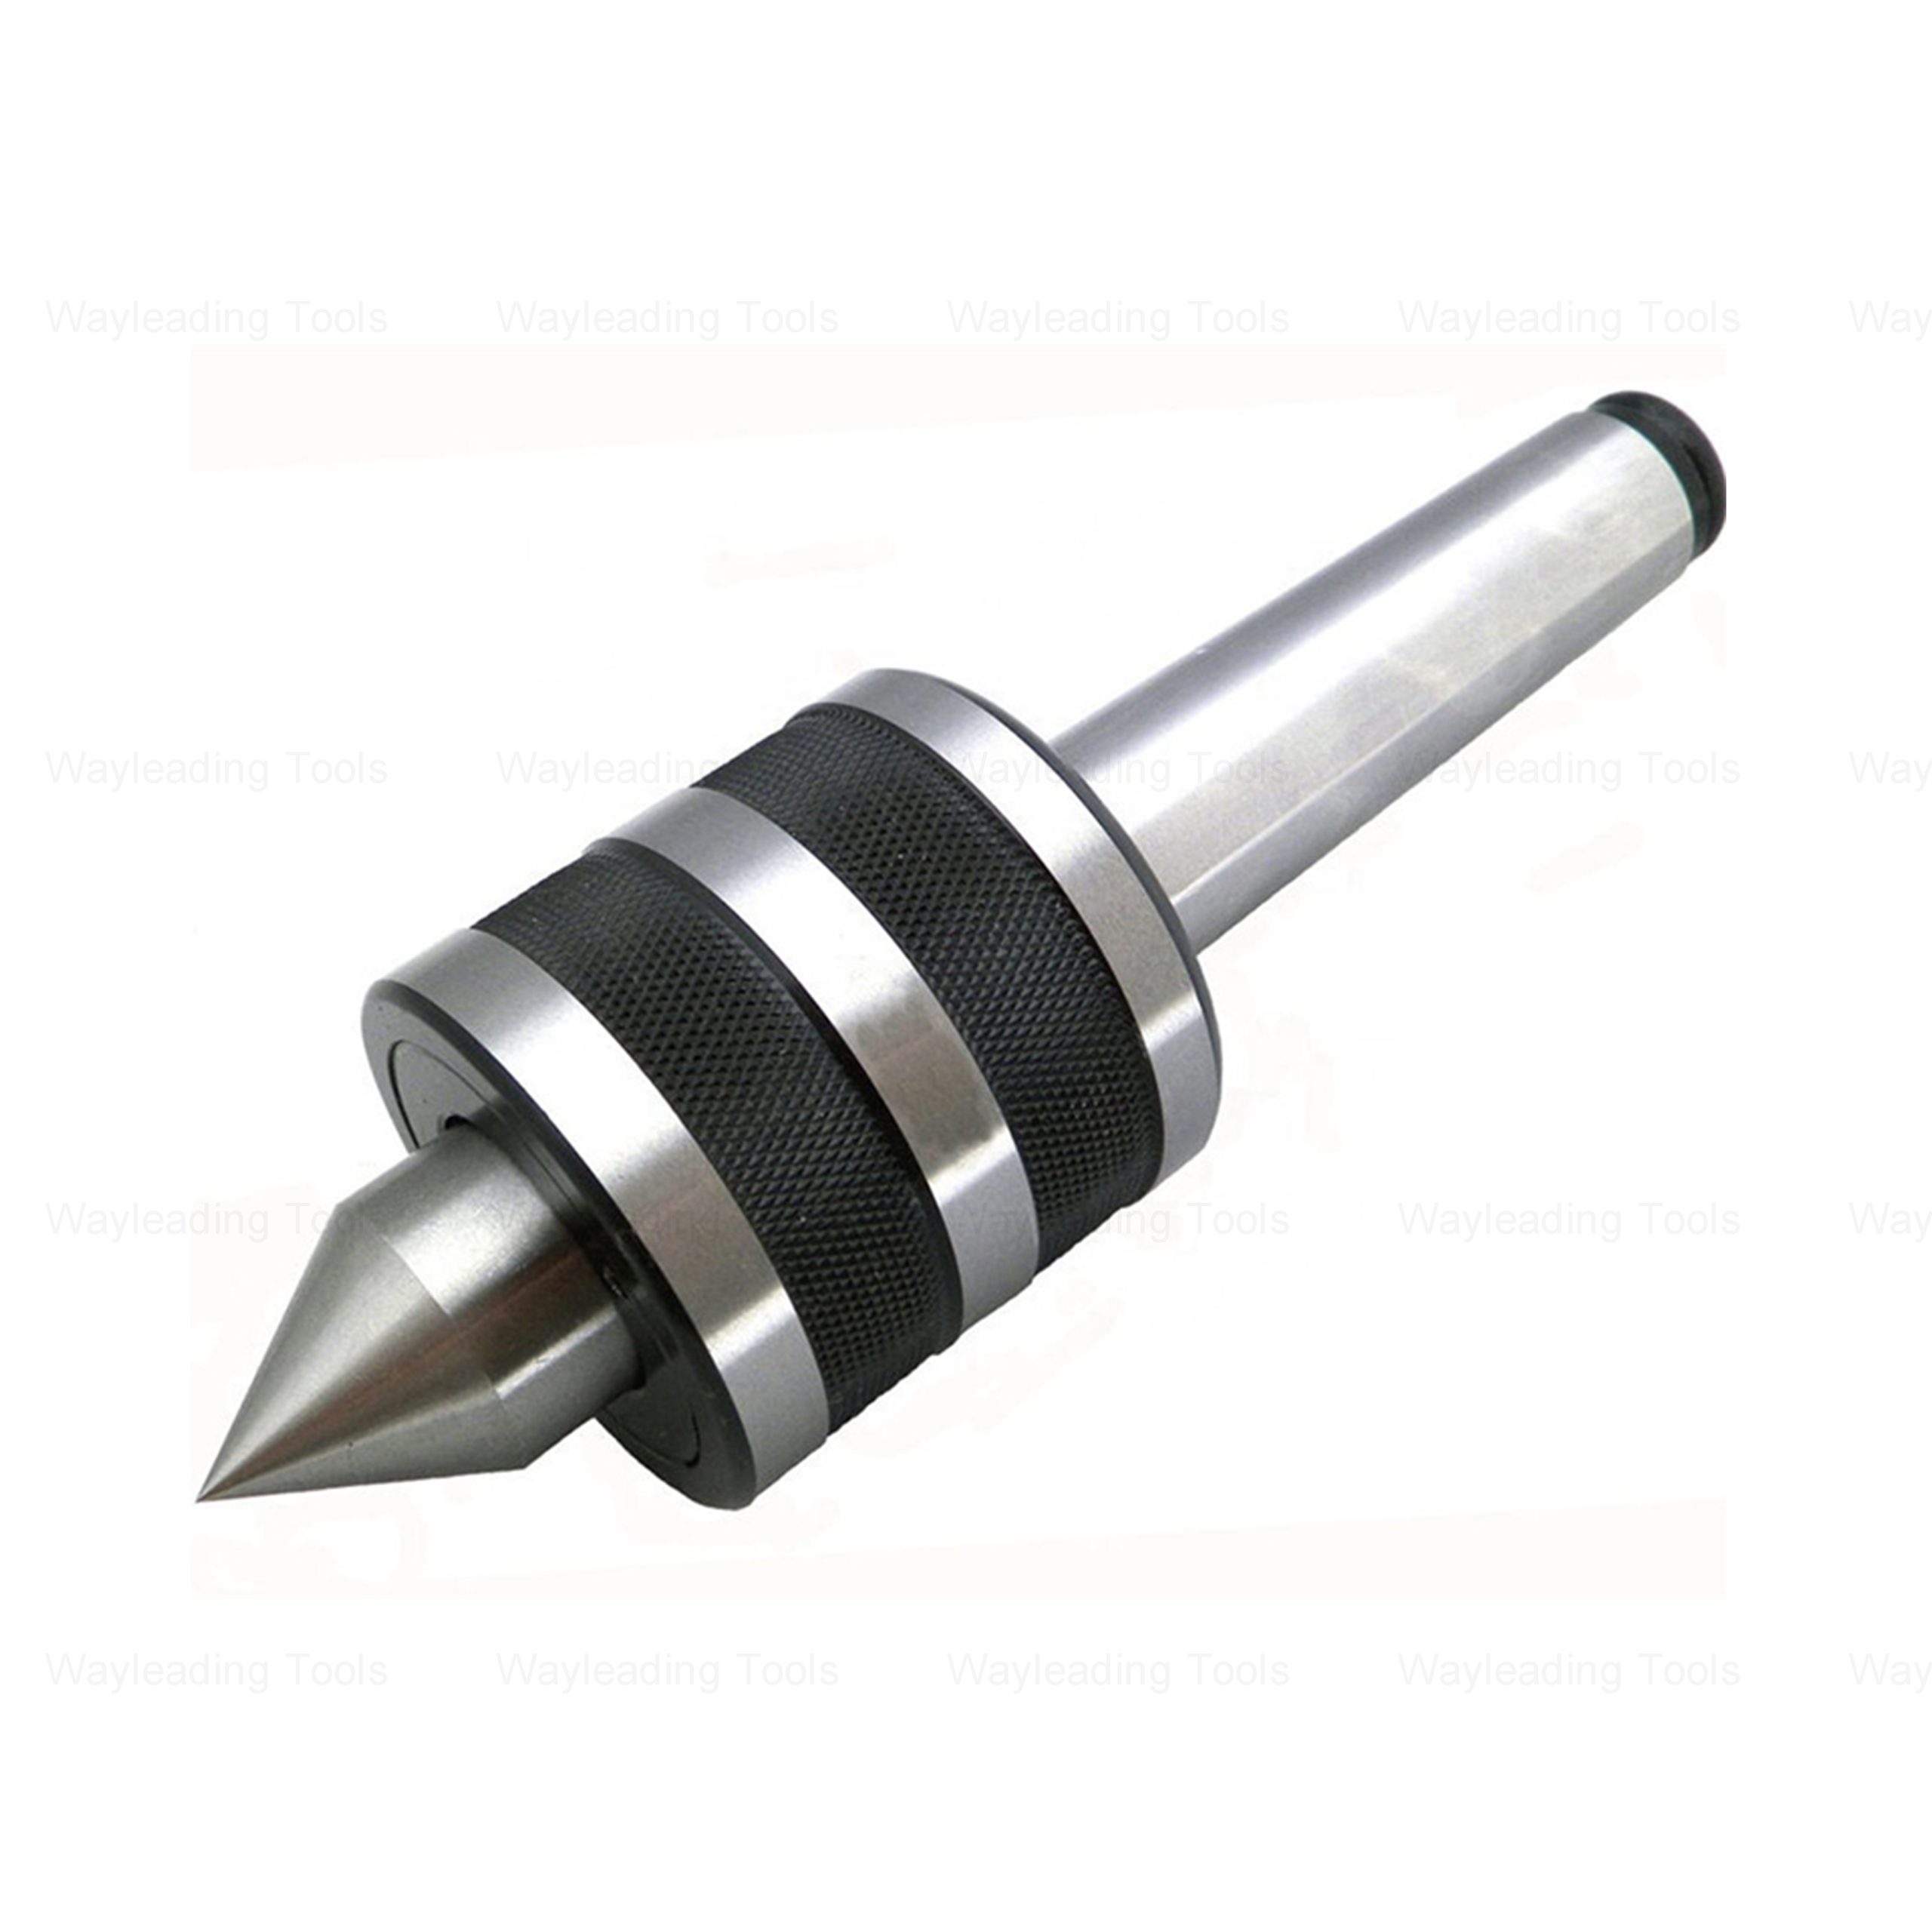 High Precision Medium-Duty Live Center – Hardened Tip, Morse Taper Shank
 -
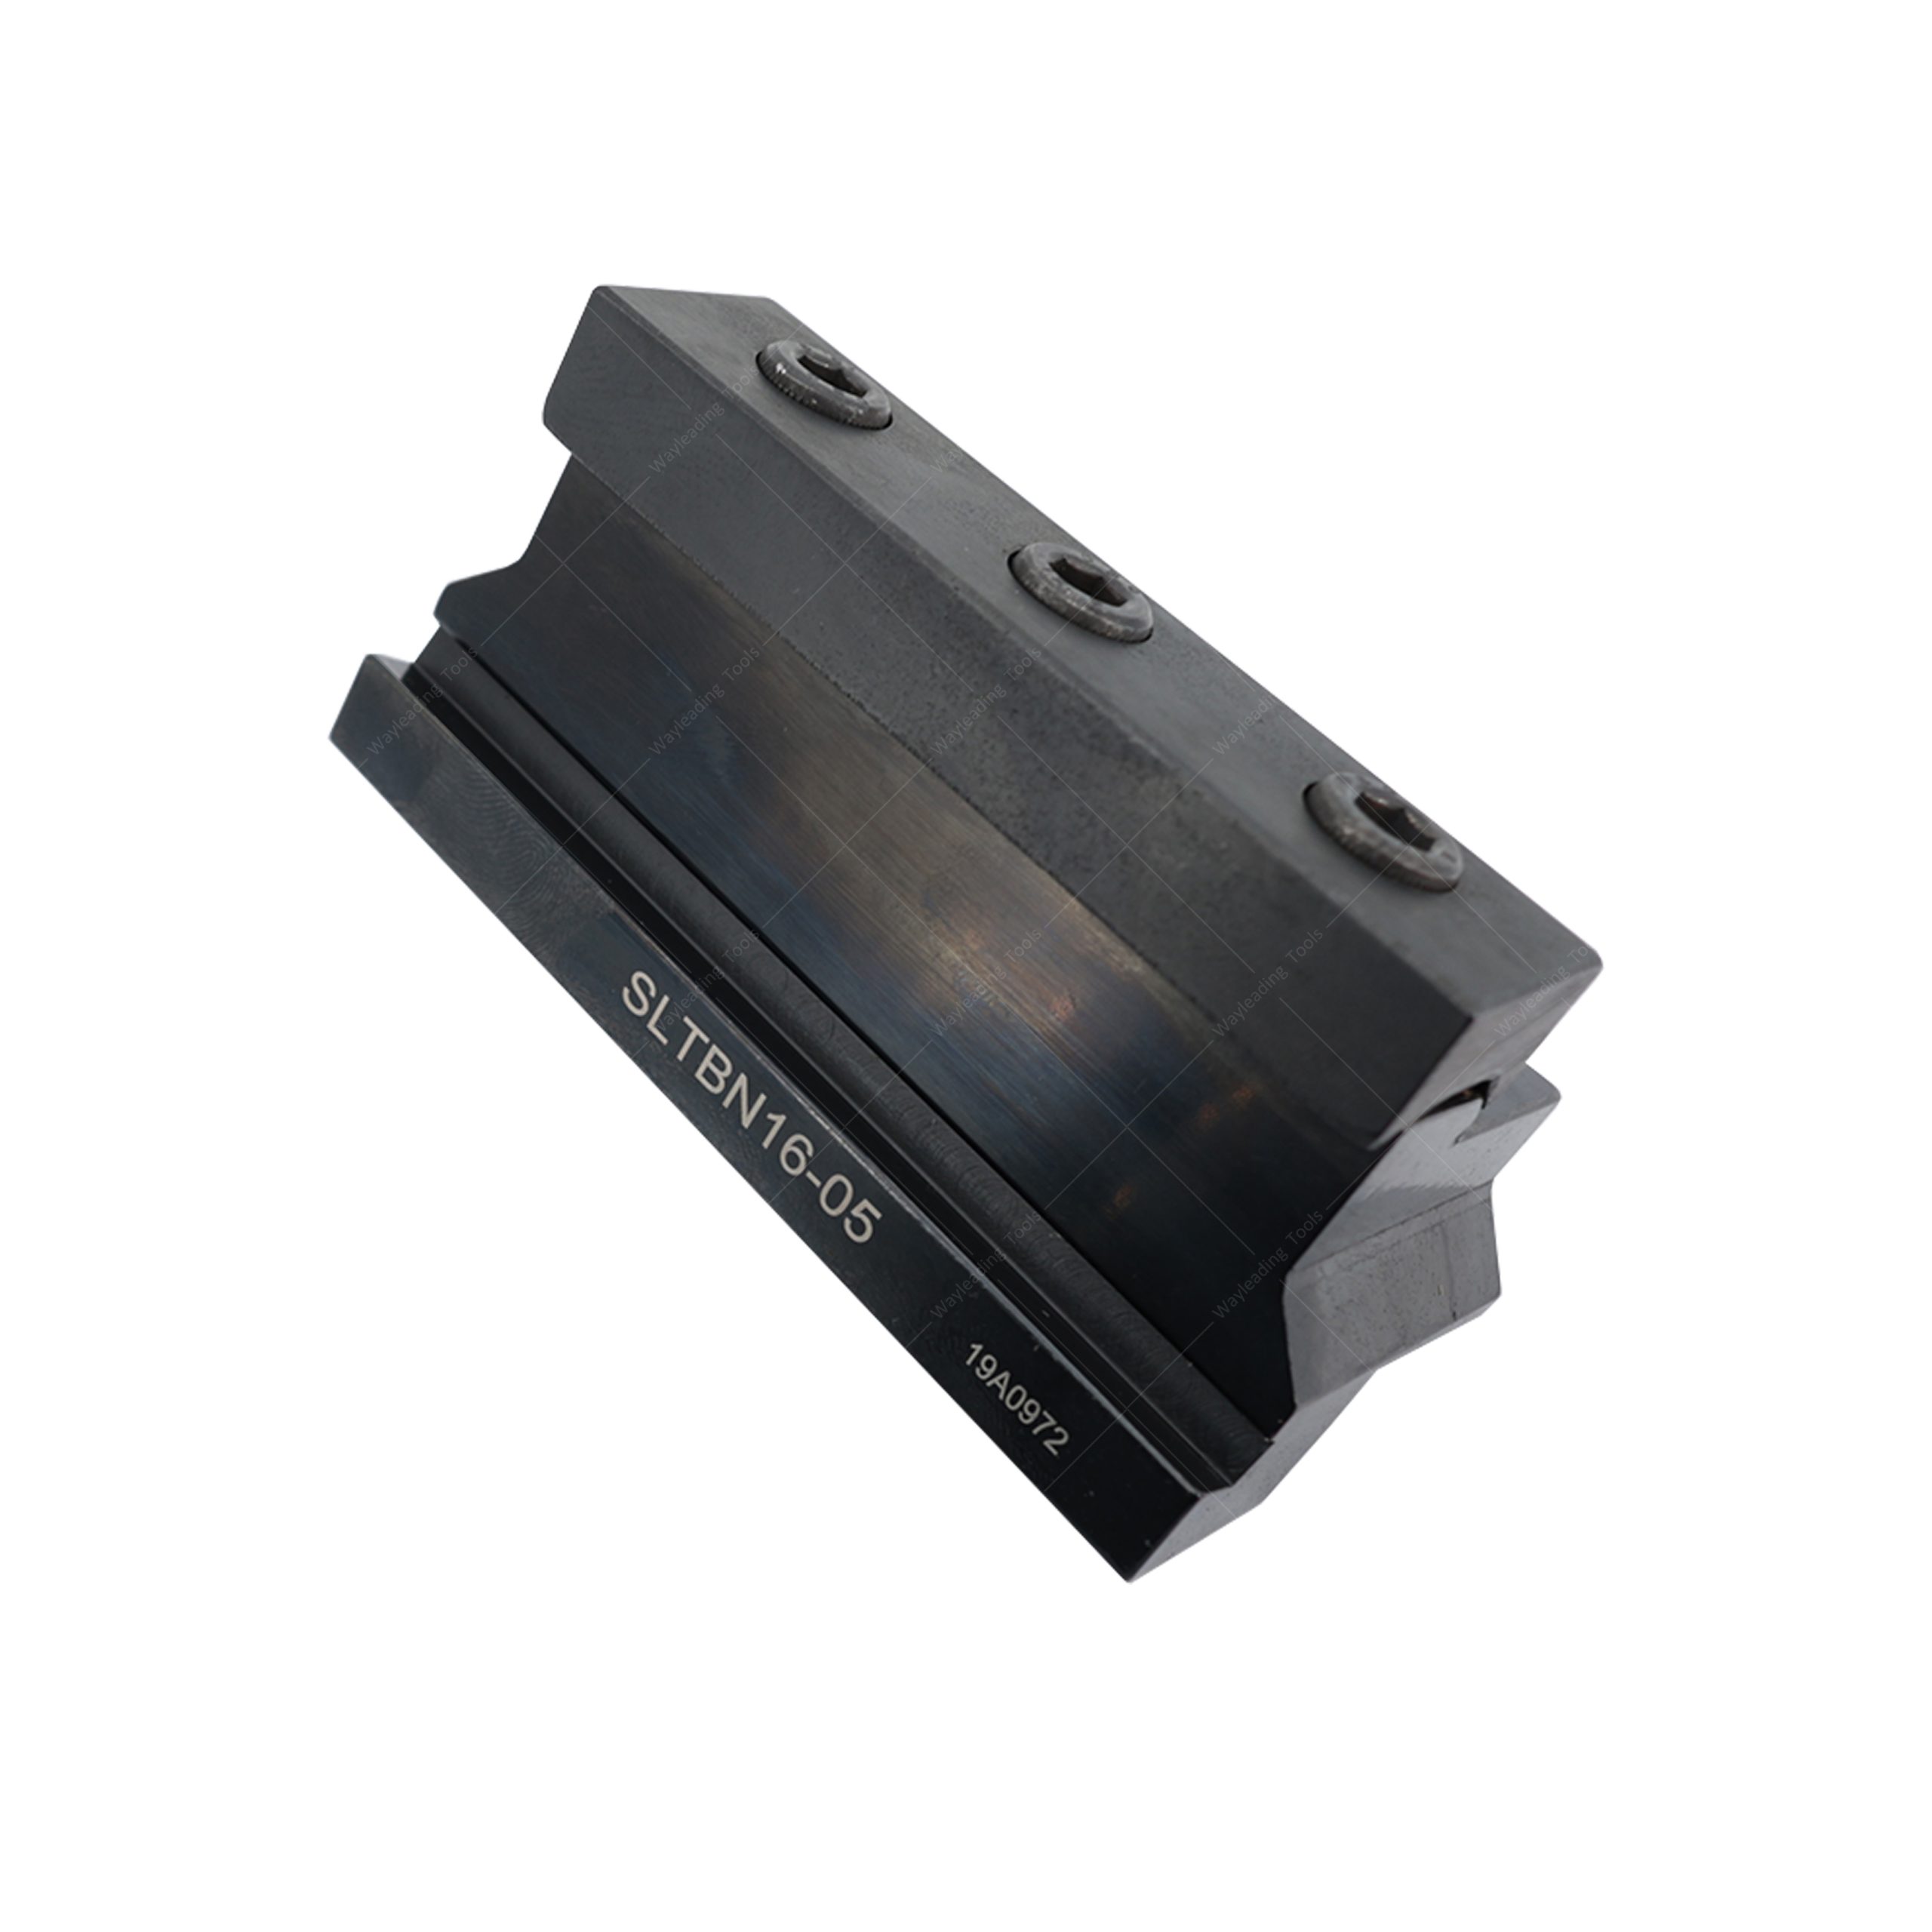 Parting & Grooving Tool Block For NCIH Blades


