
High-Quality Dial bore indicator
A high-quality dial bore indicator is a precision measuring instrument used to accurately determine the internal diameter of a bore, cylinder, or hole. It typically consists of a dial gauge connected to a gauging head with a measuring anvil and a centralizing mechanism. The indicator measures the difference between the known diameter of the gauging head and the actual diameter of the bore, providing a precise reading of the bore's size and any deviations from roundness or straightness. Understanding its features, applications, and selection criteria is crucial for achieving accurate measurements in various industries.
Understanding Dial Bore Indicators
What is a Dial Bore Indicator?
A dial bore indicator, also known as a cylinder bore gauge, is an essential tool for machinists, engine builders, and quality control professionals. It allows for precise measurement of internal diameters, ensuring proper fit and function of components. These indicators are used to measure cylinder wear, bore taper, ovality, and other dimensional variations. The key components include:
- Dial Gauge: Displays the measurement reading.
- Gauging Head: Contains the measuring anvil and centering device.
- Extension Rods: Allow for measurement of various bore depths.
- Centralizing Mechanism: Ensures the gauging head is properly aligned within the bore.
How Does a Dial Bore Indicator Work?
The working principle relies on comparing the known dimension of the gauging head with the actual bore diameter. Here's a simplified explanation:
- The gauging head is inserted into the bore.
- The centralizing mechanism aligns the gauging head.
- The measuring anvil contacts the bore wall.
- Any difference between the gauging head's diameter and the bore's diameter is transmitted to the dial gauge.
- The dial gauge displays the difference, indicating the bore's size relative to the set diameter.
Applications of Dial Bore Indicators
High-quality dial bore indicators are employed across a wide range of industries:
- Automotive: Measuring cylinder bore wear and taper in engine blocks.
- Manufacturing: Quality control of machined parts with internal bores.
- Aerospace: Inspecting hydraulic cylinders and other critical components.
- Maintenance: Assessing wear and tear in pumps, valves, and other equipment.
- Precision Engineering: Any application requiring accurate measurement of internal diameters.
Factors to Consider When Choosing a Dial Bore Indicator
Selecting the right dial bore indicator depends on your specific needs and application. Here are some important factors to consider:
- Measurement Range: Choose an indicator with a range that covers the bore sizes you need to measure.
- Accuracy: Look for indicators with high accuracy and repeatability.
- Resolution: Consider the resolution of the dial gauge, typically 0.001' or 0.0001'.
- Construction Quality: Opt for durable materials and robust construction for long-lasting performance.
- Ease of Use: Select an indicator that is easy to set up, calibrate, and use.
- Accessories: Check for available accessories, such as extension rods and centering devices.
- Brand Reputation: Consider established brands known for quality and reliability. Wayleading Tools offers a range of precision measuring instruments.
Types of Dial Bore Indicators
While the basic principle remains the same, dial bore indicators come in different types to suit various applications:
- Standard Dial Bore Indicators: Versatile for general-purpose bore measurement.
- Small Bore Indicators: Designed for measuring small diameter bores.
- Blind Bore Indicators: Allow measurement of bores with closed ends.
- Digital Bore Indicators: Offer digital readouts for easier and more precise readings.
Setting Up and Using a Dial Bore Indicator
Proper setup and usage are crucial for accurate measurements. Here's a general guide:
- Select the Appropriate Gauging Head and Extension Rods: Ensure they match the bore size and depth.
- Calibrate the Indicator: Use a setting ring or master bore to zero the dial gauge.
- Insert the Gauging Head: Carefully insert the gauging head into the bore.
- Centralize the Gauging Head: Ensure the centralizing mechanism is properly engaged.
- Rock the Indicator: Gently rock the indicator to find the minimum reading, which represents the bore diameter.
- Record the Measurement: Note the reading on the dial gauge.
- Repeat Measurements: Take multiple measurements at different points in the bore to assess roundness and taper.
Maintenance and Care
Proper maintenance will extend the life and accuracy of your dial bore indicator:
- Clean the Indicator Regularly: Wipe down the indicator after each use to remove dirt and debris.
- Lubricate Moving Parts: Apply a light oil to the moving parts to ensure smooth operation.
- Store the Indicator Properly: Store the indicator in a protective case to prevent damage.
- Calibrate Regularly: Calibrate the indicator periodically to ensure accuracy.
Troubleshooting Common Issues
Here are some common issues and how to troubleshoot them:
- Inconsistent Readings: Check for loose components, dirt or debris, or improper calibration.
- Difficulty Centralizing: Ensure the centralizing mechanism is functioning correctly and the bore is clean.
- Damaged Dial Gauge: Replace the dial gauge if it is damaged or inaccurate.
Example of a High-Quality Dial Bore Indicator
Let's consider the Mitutoyo 511-703 Dial Bore Gauge Set as an example of a high-quality dial bore indicator. It boasts a measurement range of 18-35mm (0.7'-1.4'), an accuracy of 0.00005' and a resolution of 0.00005'. It is known for its durability and precise measurements. Check out the official Mitutoyo website for detailed specifications: Mitutoyo Website.
Another example would be the Starrett 829BZ Dial Bore Gauge. With a range of 2'-6', it is known for it's long lasting and robust construction. For more information, visit: Starrett Website
Conclusion
Investing in a high-quality dial bore indicator is essential for anyone requiring precise measurement of internal diameters. By understanding the different types, features, and applications, you can choose the right indicator for your needs and ensure accurate and reliable results. Remember to follow proper setup, usage, and maintenance procedures to maximize the lifespan and accuracy of your instrument.
Related products
Related products
Best selling products
Best selling products-
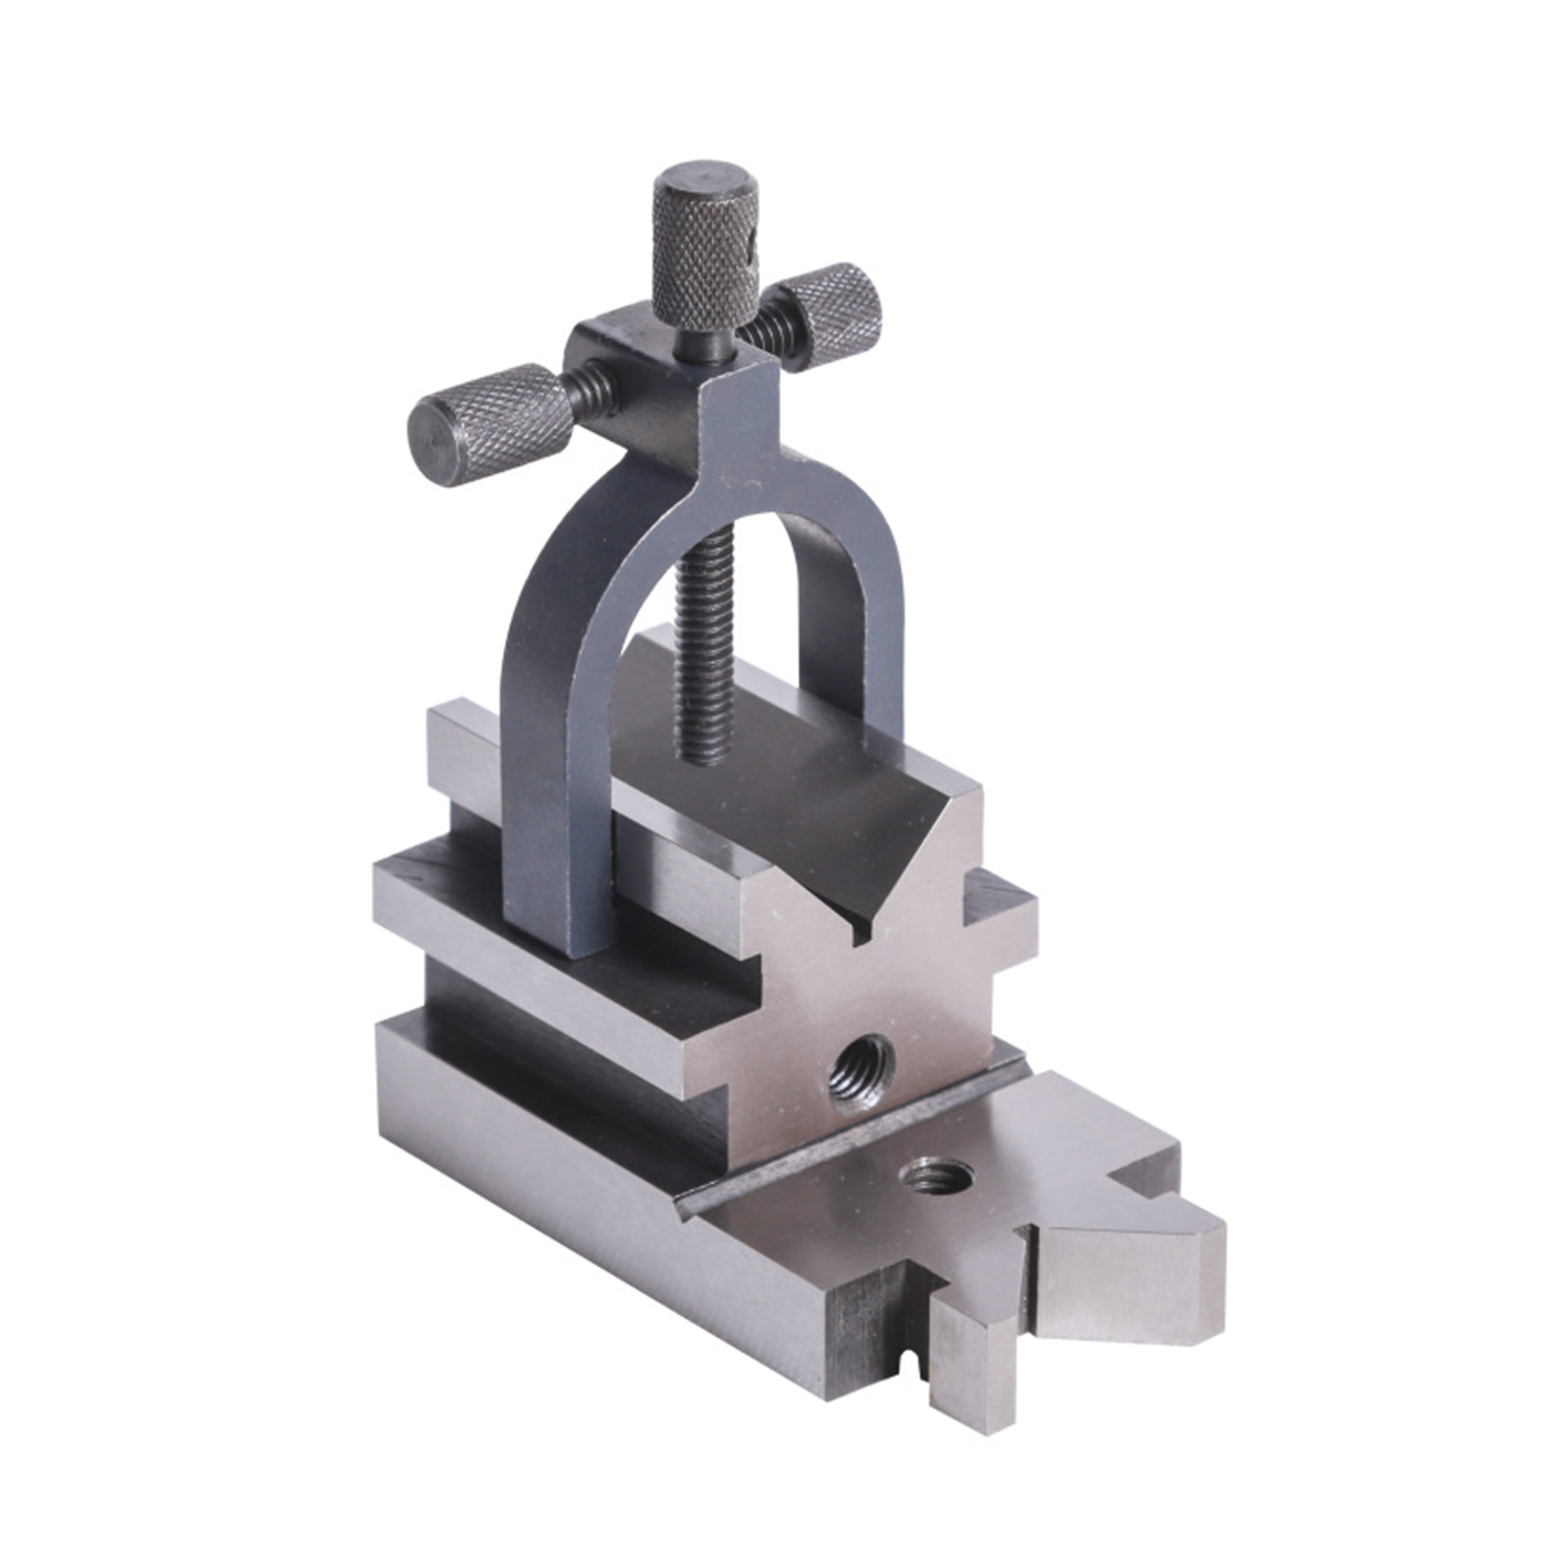
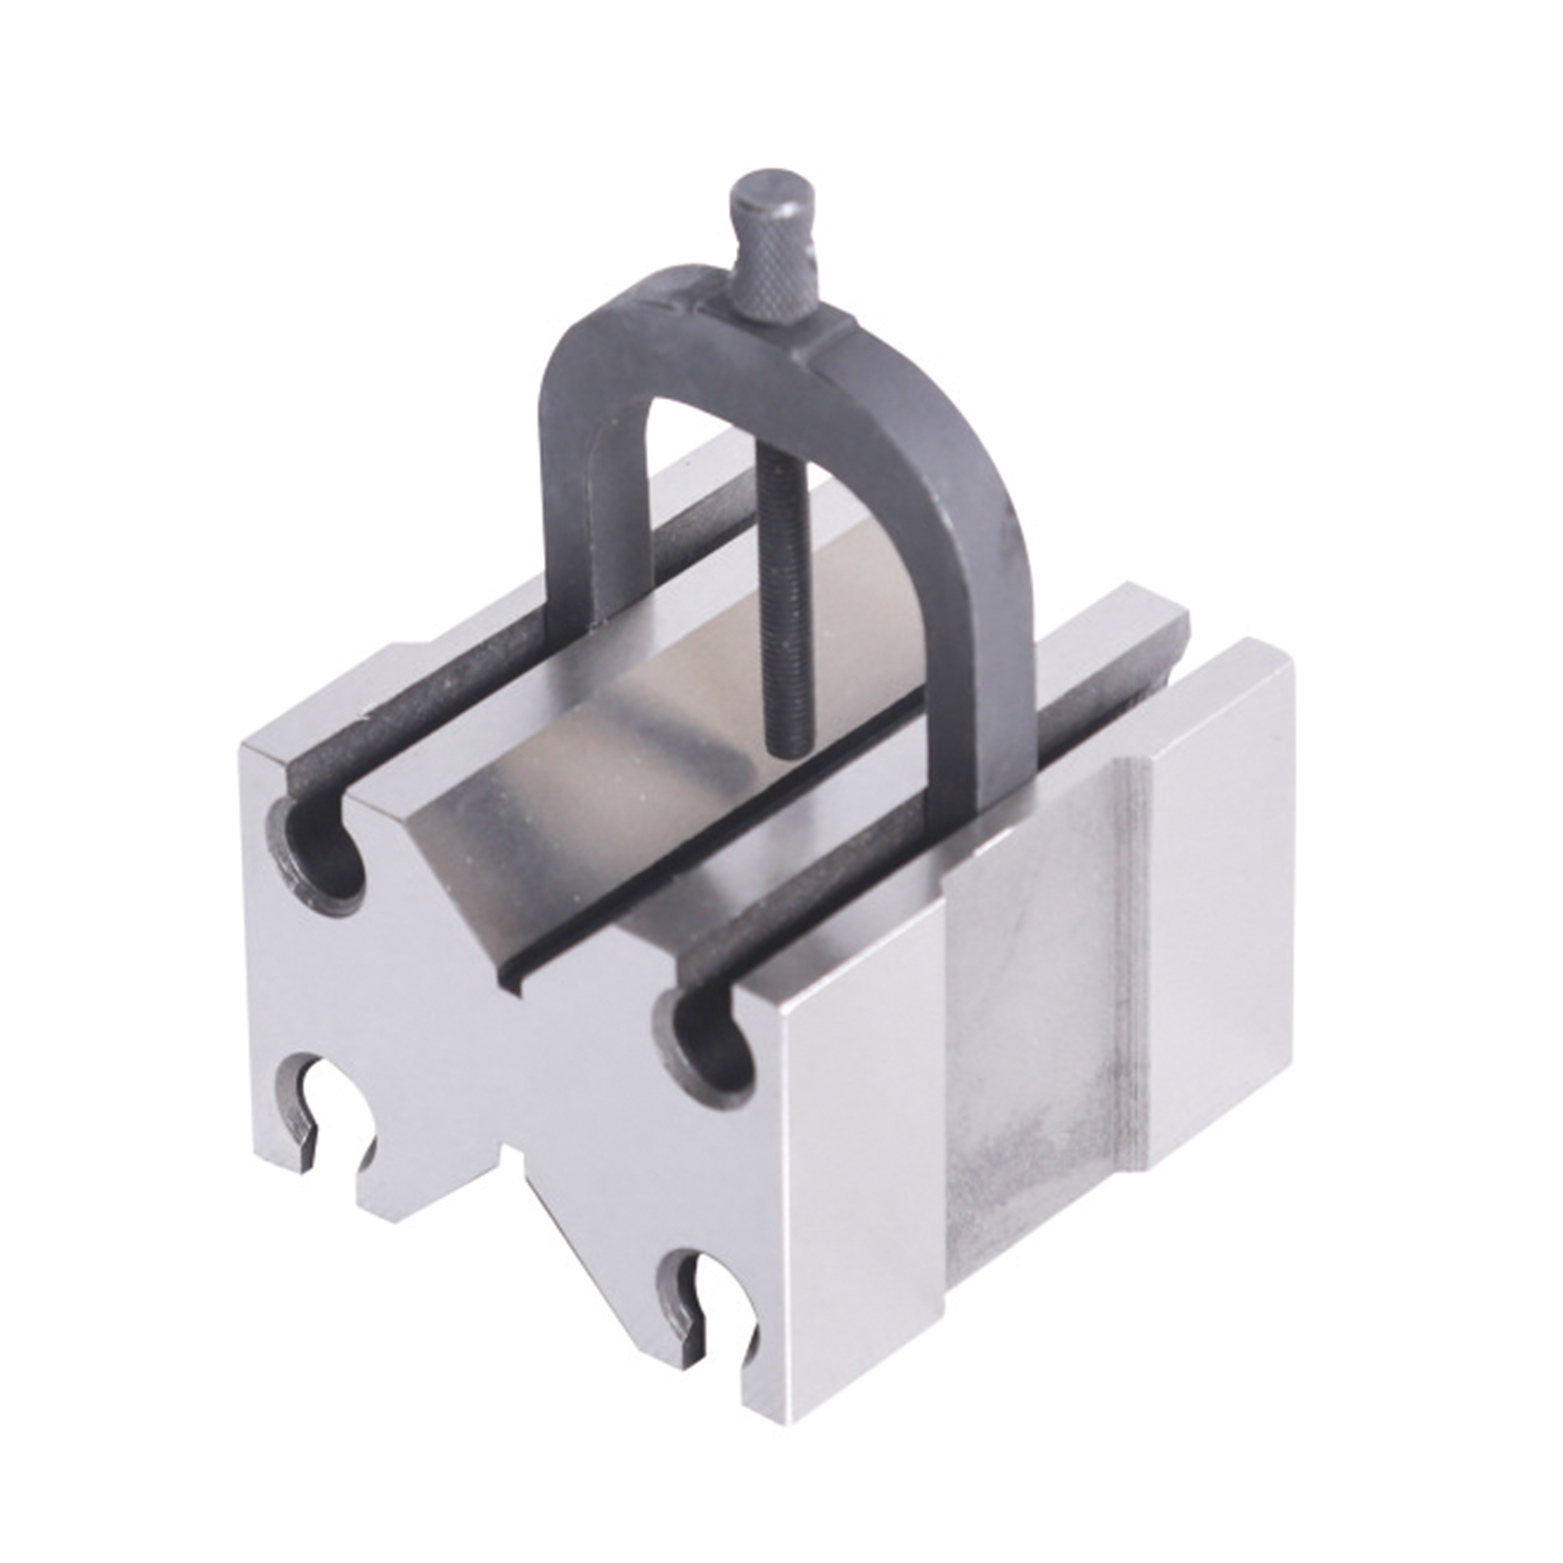 Precision V Block And Clamps Set With Industry Type
 -
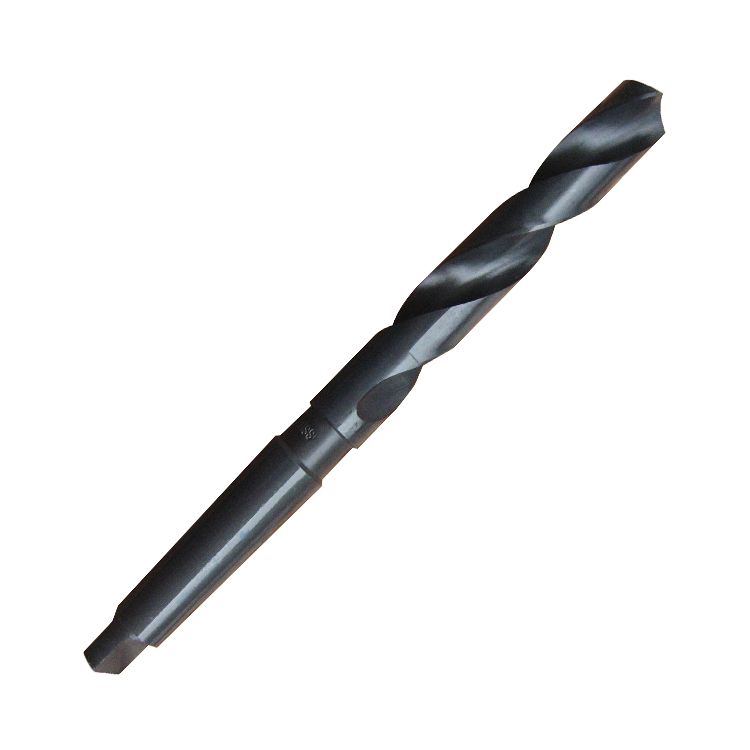 HSS Inch Taper Shank Twit Drills For Metal Cutting Of High Precision
 -
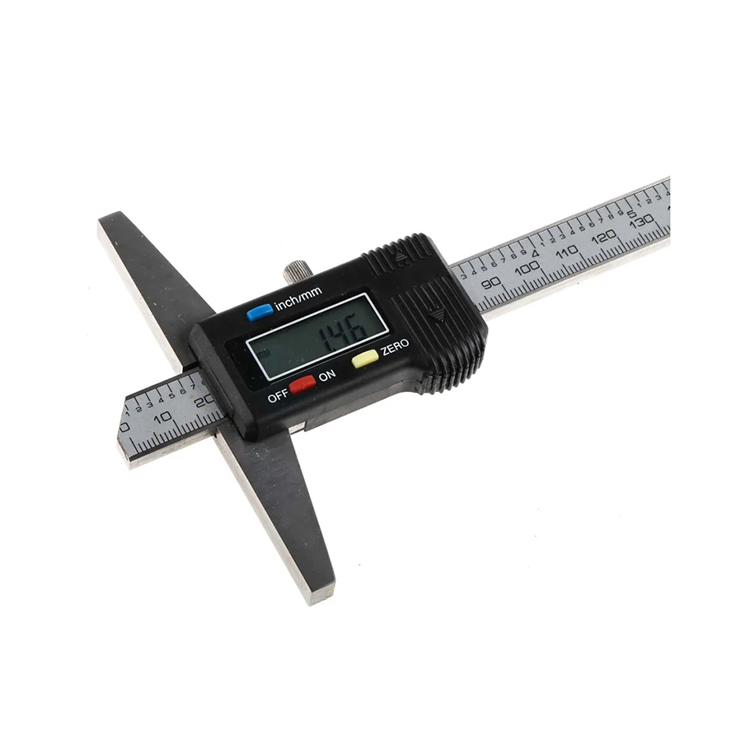 Digital Depth Gauge With Stainless Steel For Industrial Type
 -
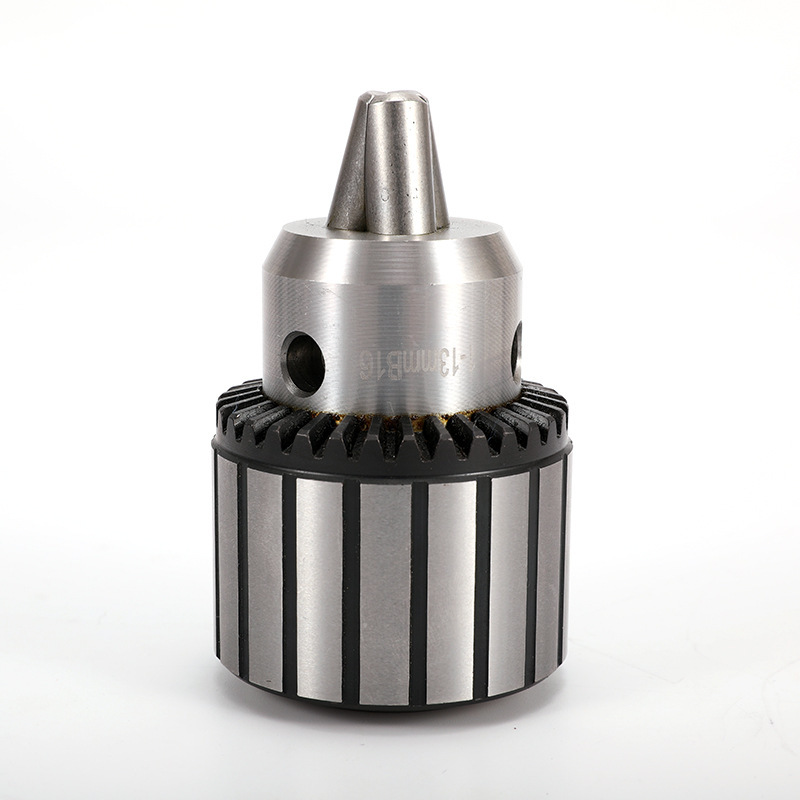 Key Type Drill Chuck With Heavy Duty Type
 -
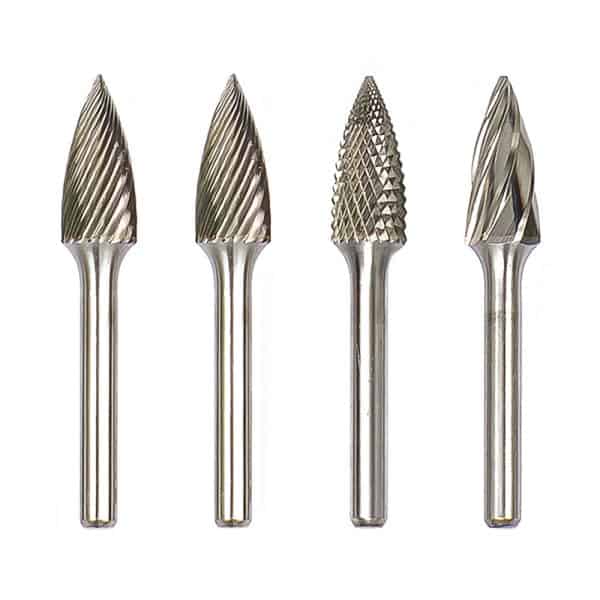 Type G Arc Pointed Tree Tungsten Carbide Rotary Burr
 -
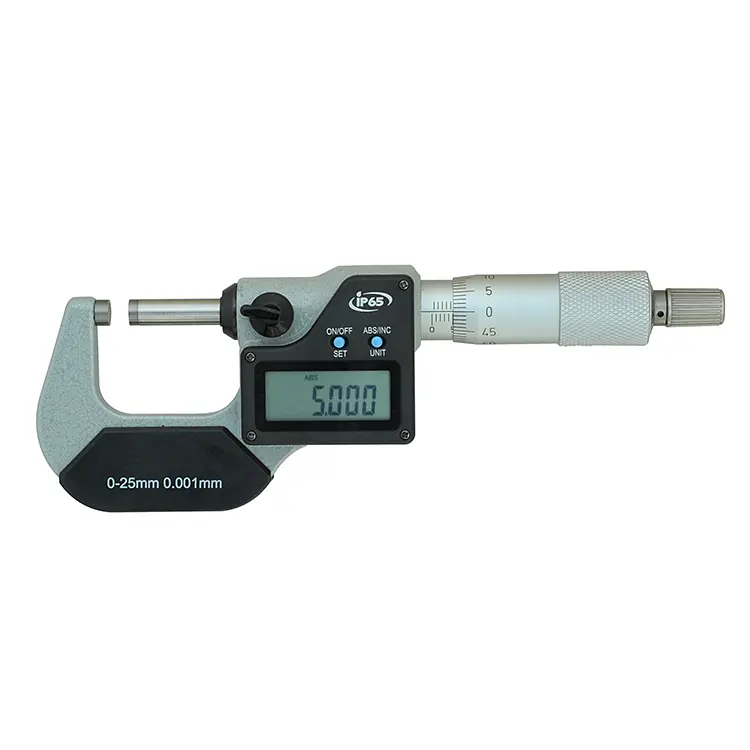 Precision IP65 Digital Outside Micrometer Of Inch & Metric With Data Output
 -
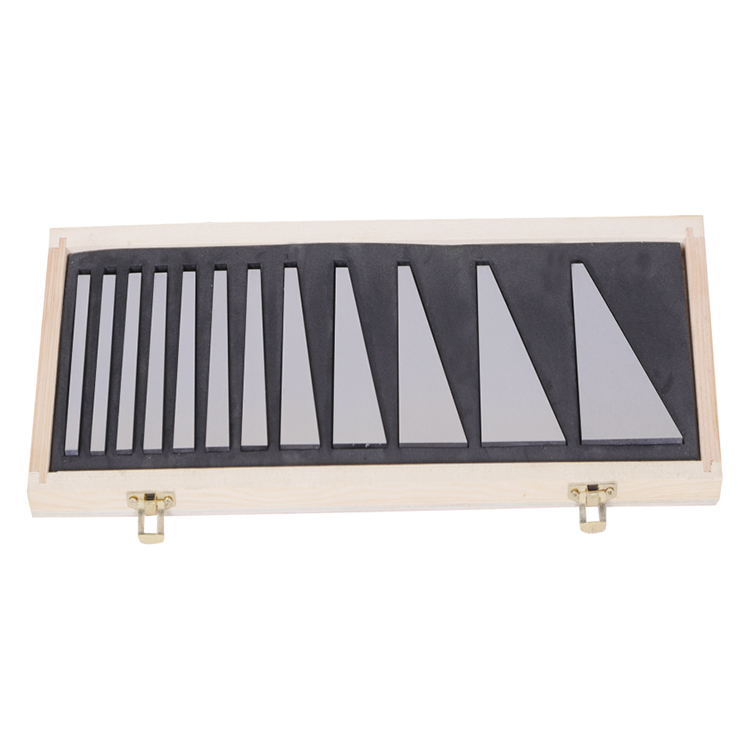 Precision 10pcs & 12pcs Angle Blocks Set With High Quality Type
 -
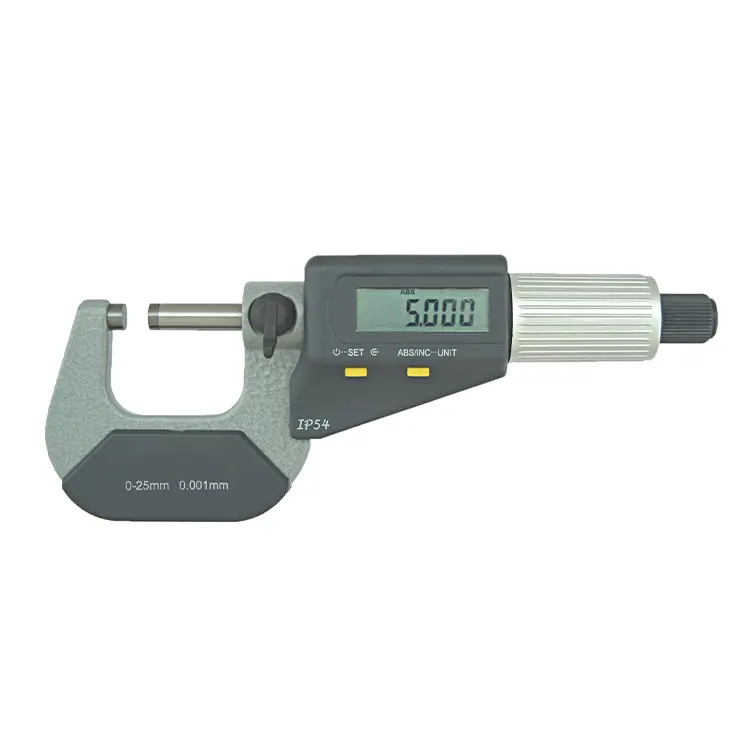 Precision IP54 Digital Outside Micrometer Of Inch & Metric With Data Output
 -
 Precision V Block And Clamps Set With Customized Type
 -
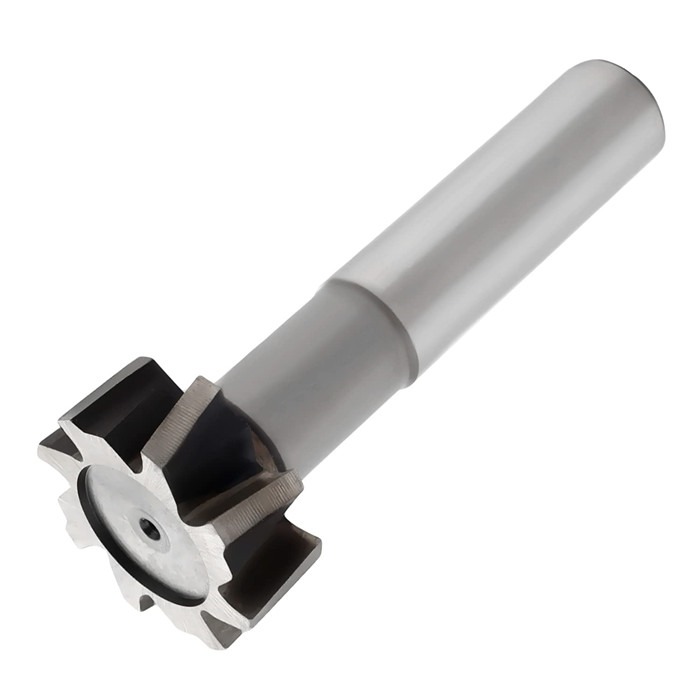 HSS Metric & Inch T Slot End Mill For Industrial
 -
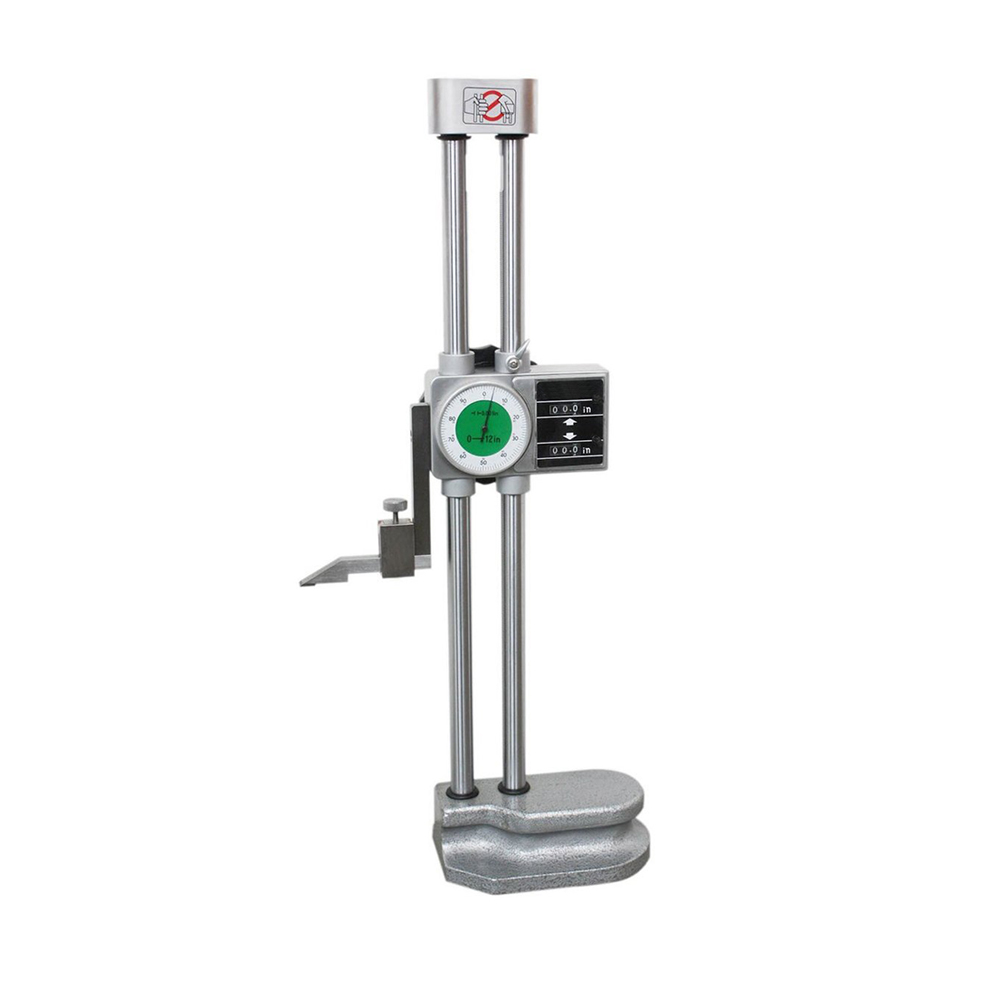 Double-beam Digital Gauge With Digital Counter
 -
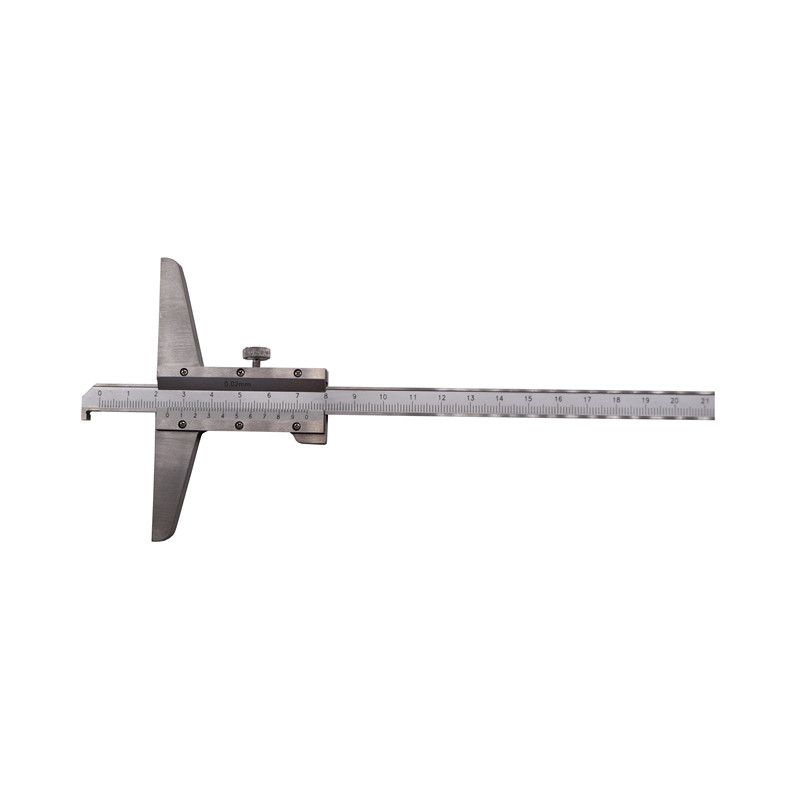 Depth Vernier Gauge With Stainless Steel And Monoblock Depth Type


